Computer-Controlled Machining
This week was a particular one, with the evolution of the COVID-19 Pandemie, a lot of doubt of what happened next days, but work is a good way to not being paranoid.
Group assignement:
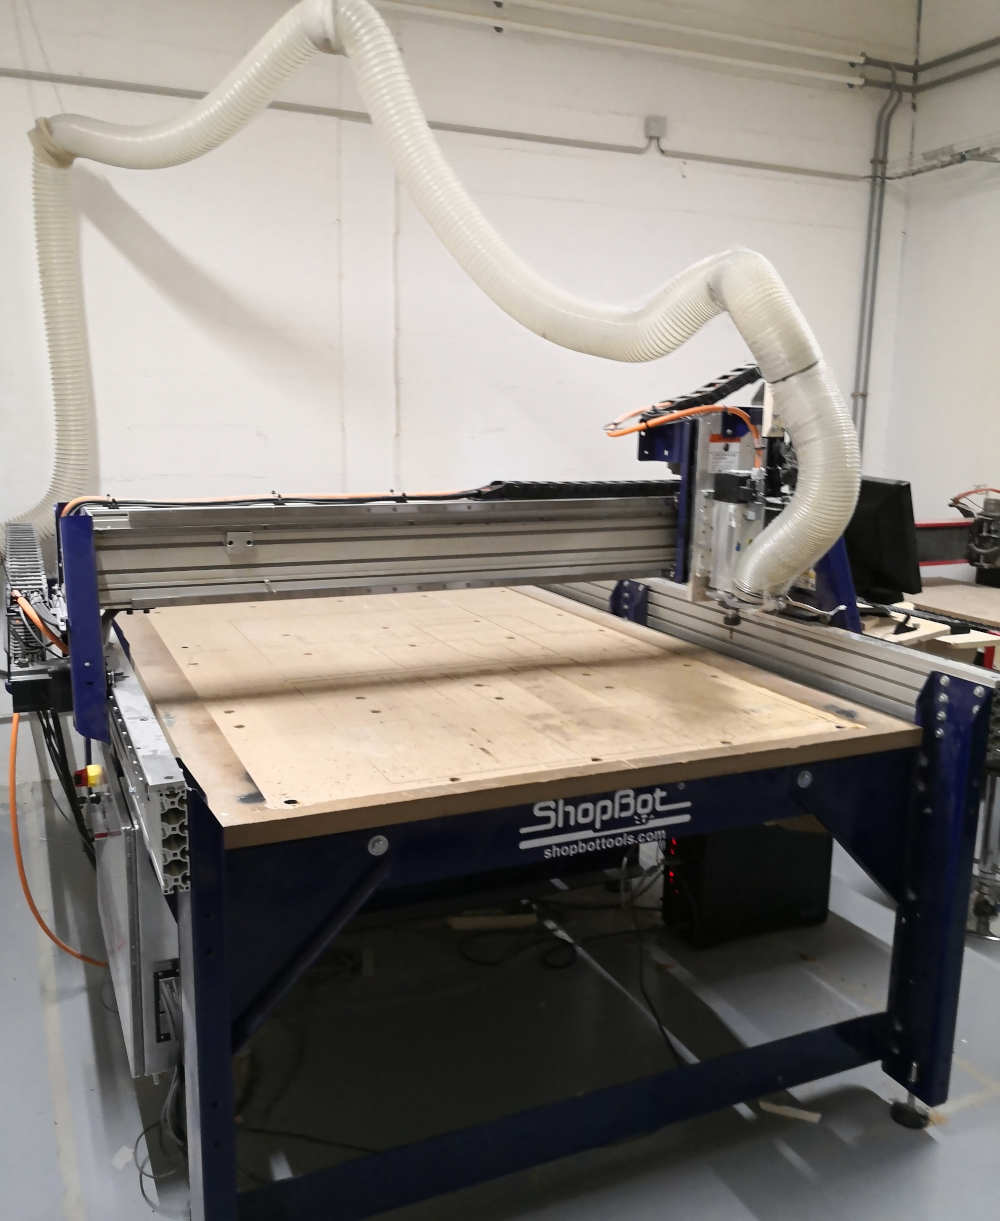
For this week assignement we going to play with a Large format CNC machine.
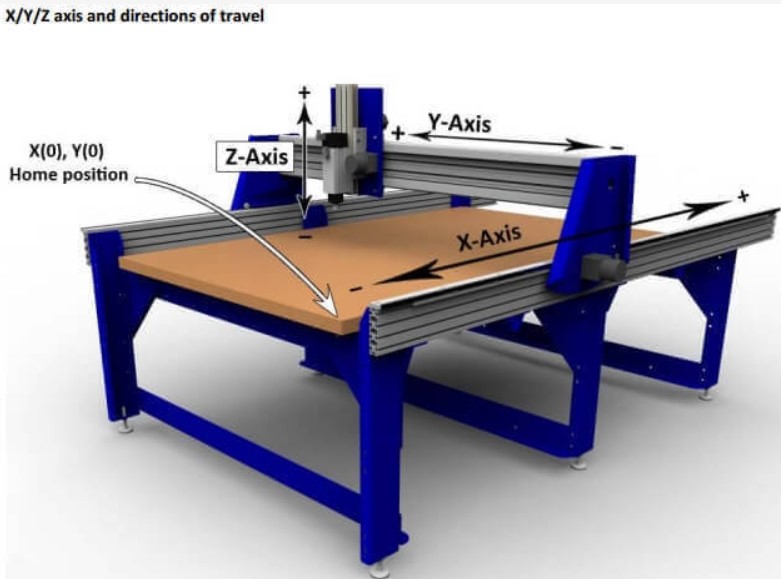
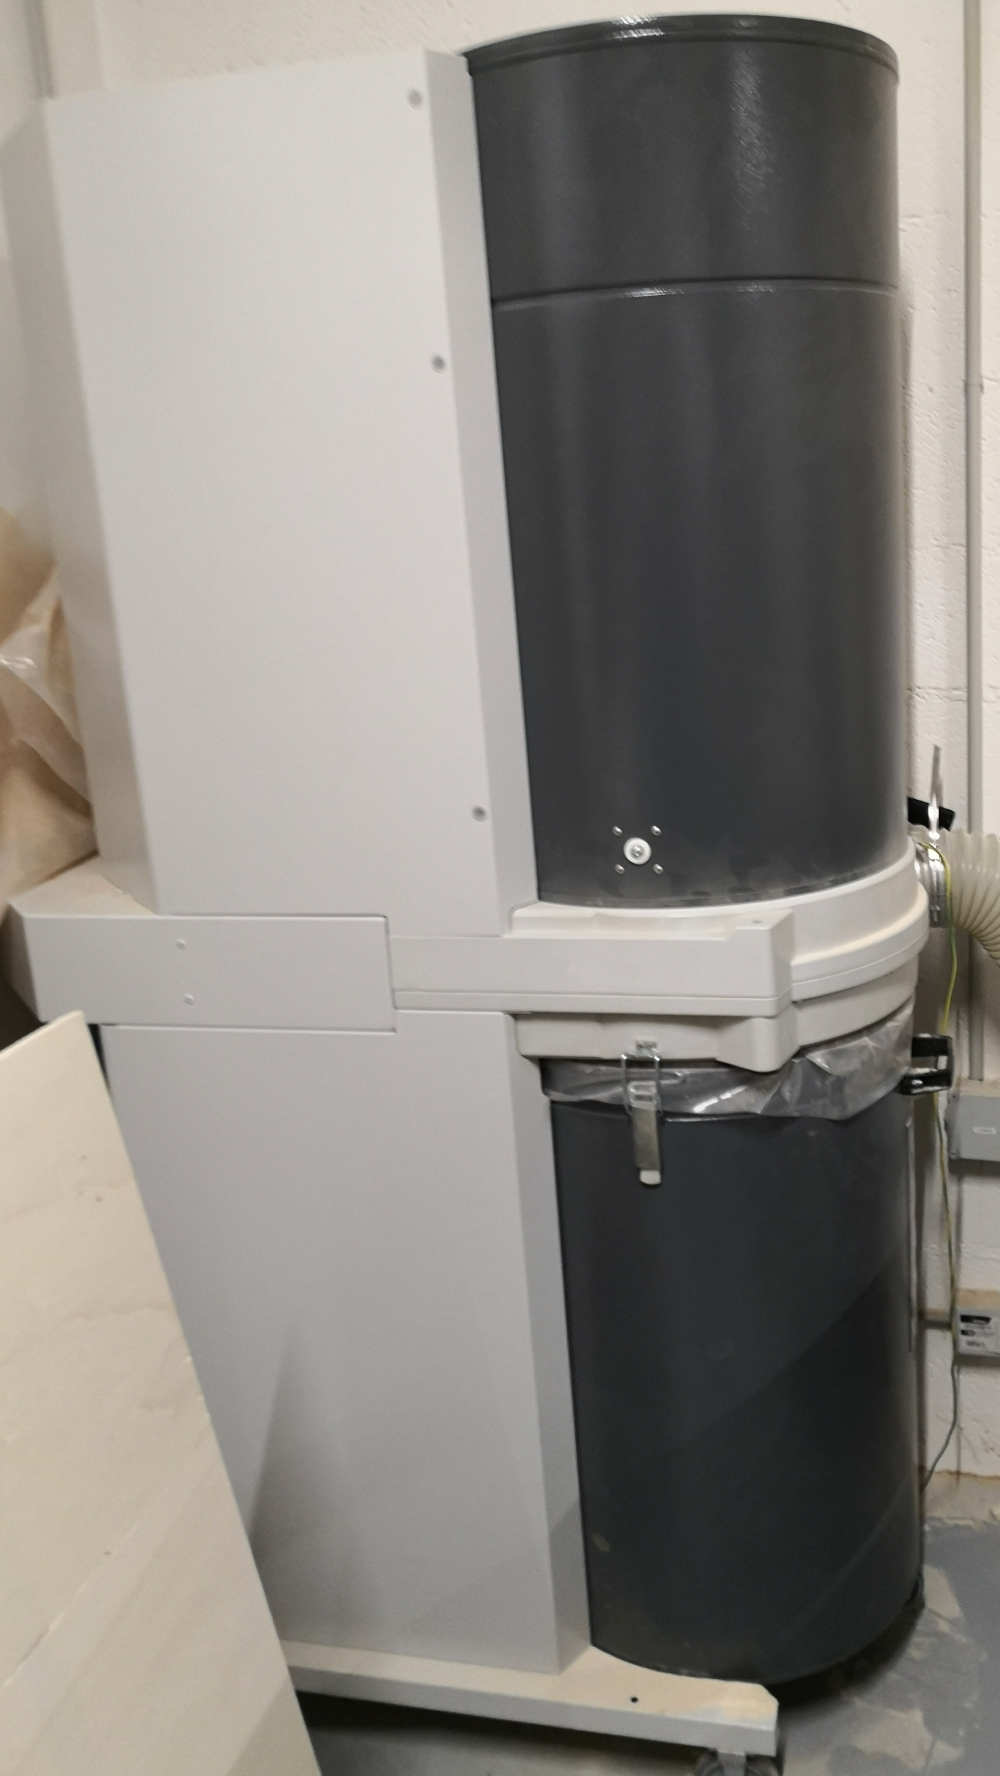
the CNC machine we are using is a Shopbot it provide us the capacity of woork in 4' by 8' cuuting area. With 3 axis directions. The Machine is also coupled with a dust collector systeme for Cleanest Work
This kind of machine could be really dangerous, before work with it let's talk about some security.
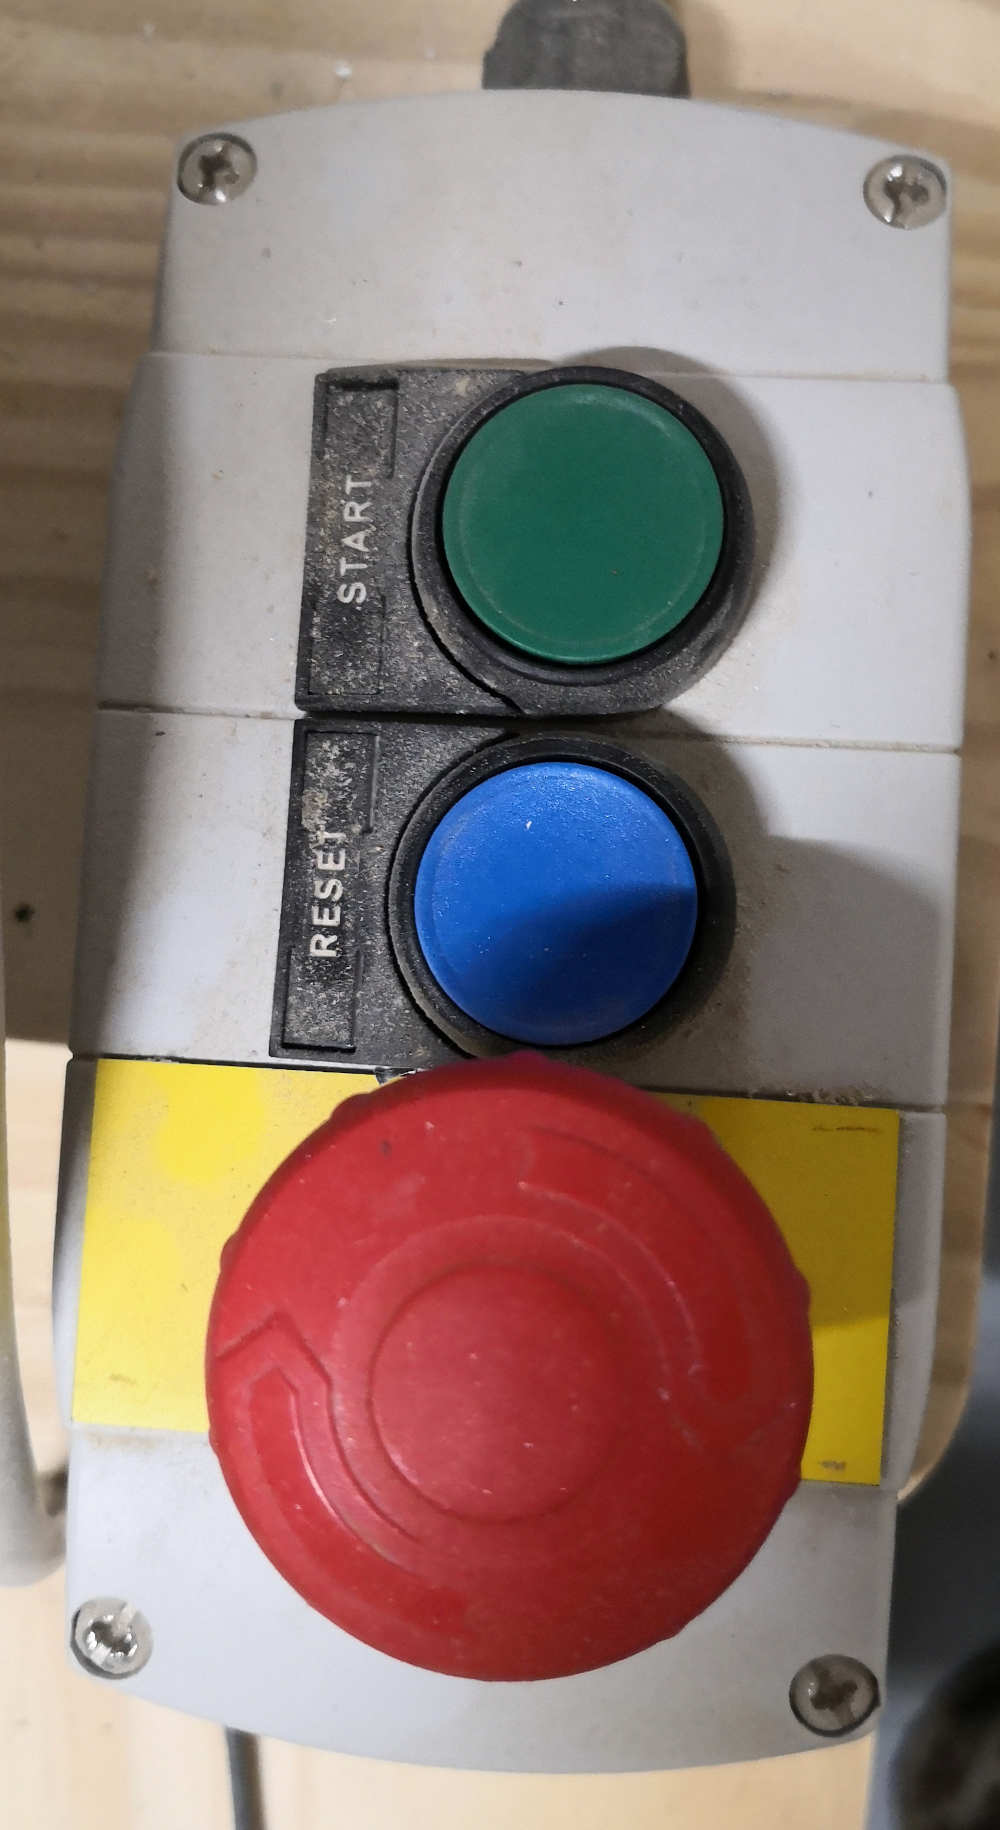
Ears Protections, Safety glasse, Gloves & Never Work Alone / Tired / Upset or Hungry. the Drill run fast, sharp chips could fly, a lot of different bad issues could happen. TAKE CARE and be sure to know where is the Emergency Big Red Button^^


Now let's test some cut.
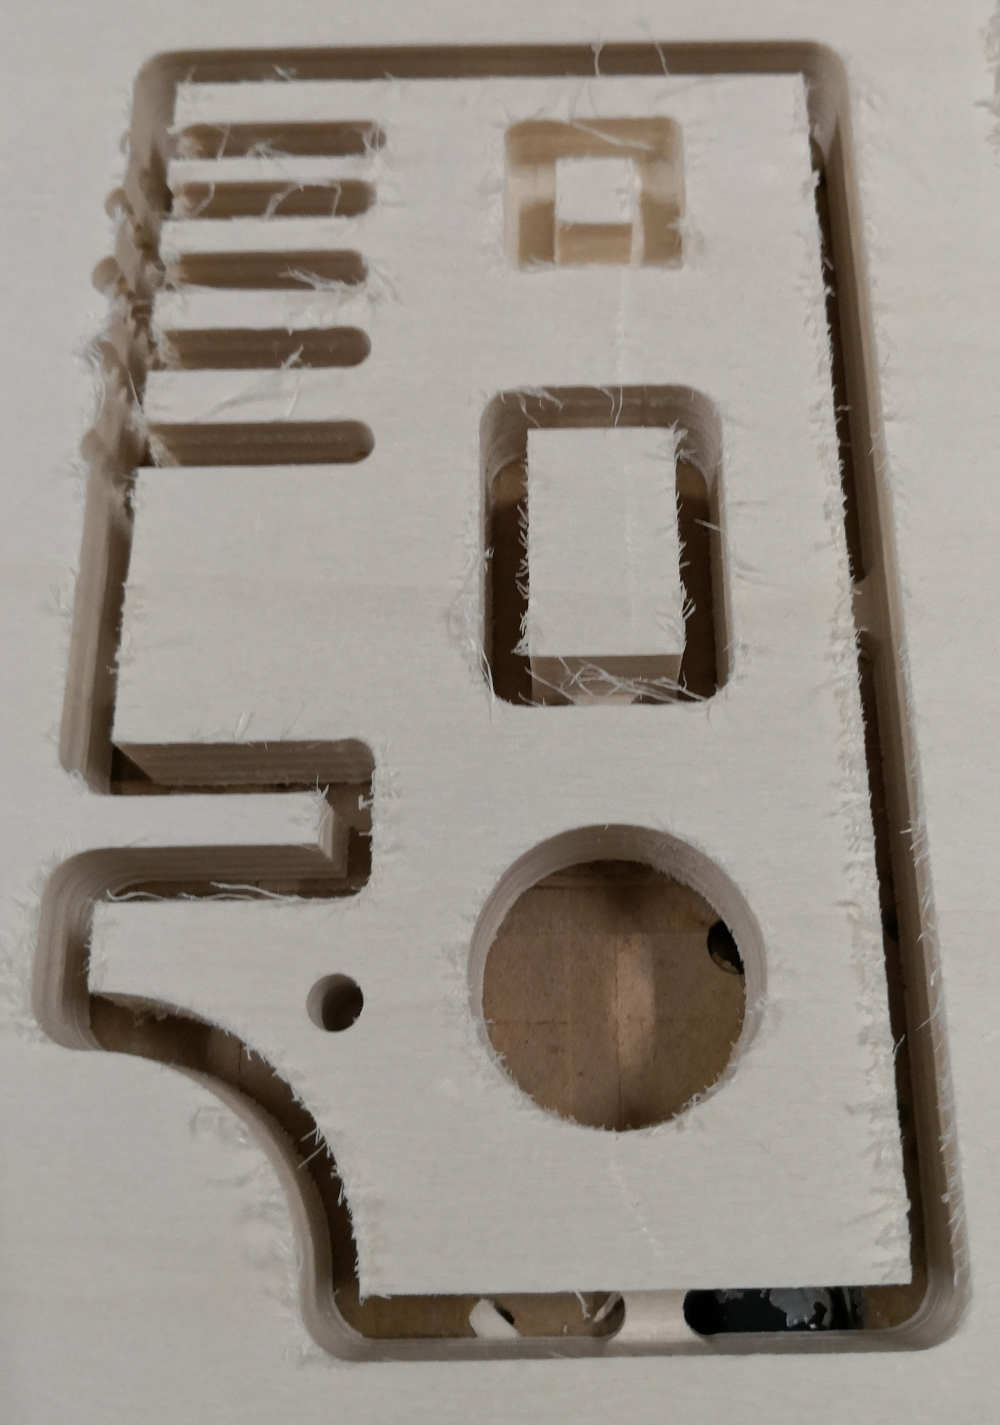
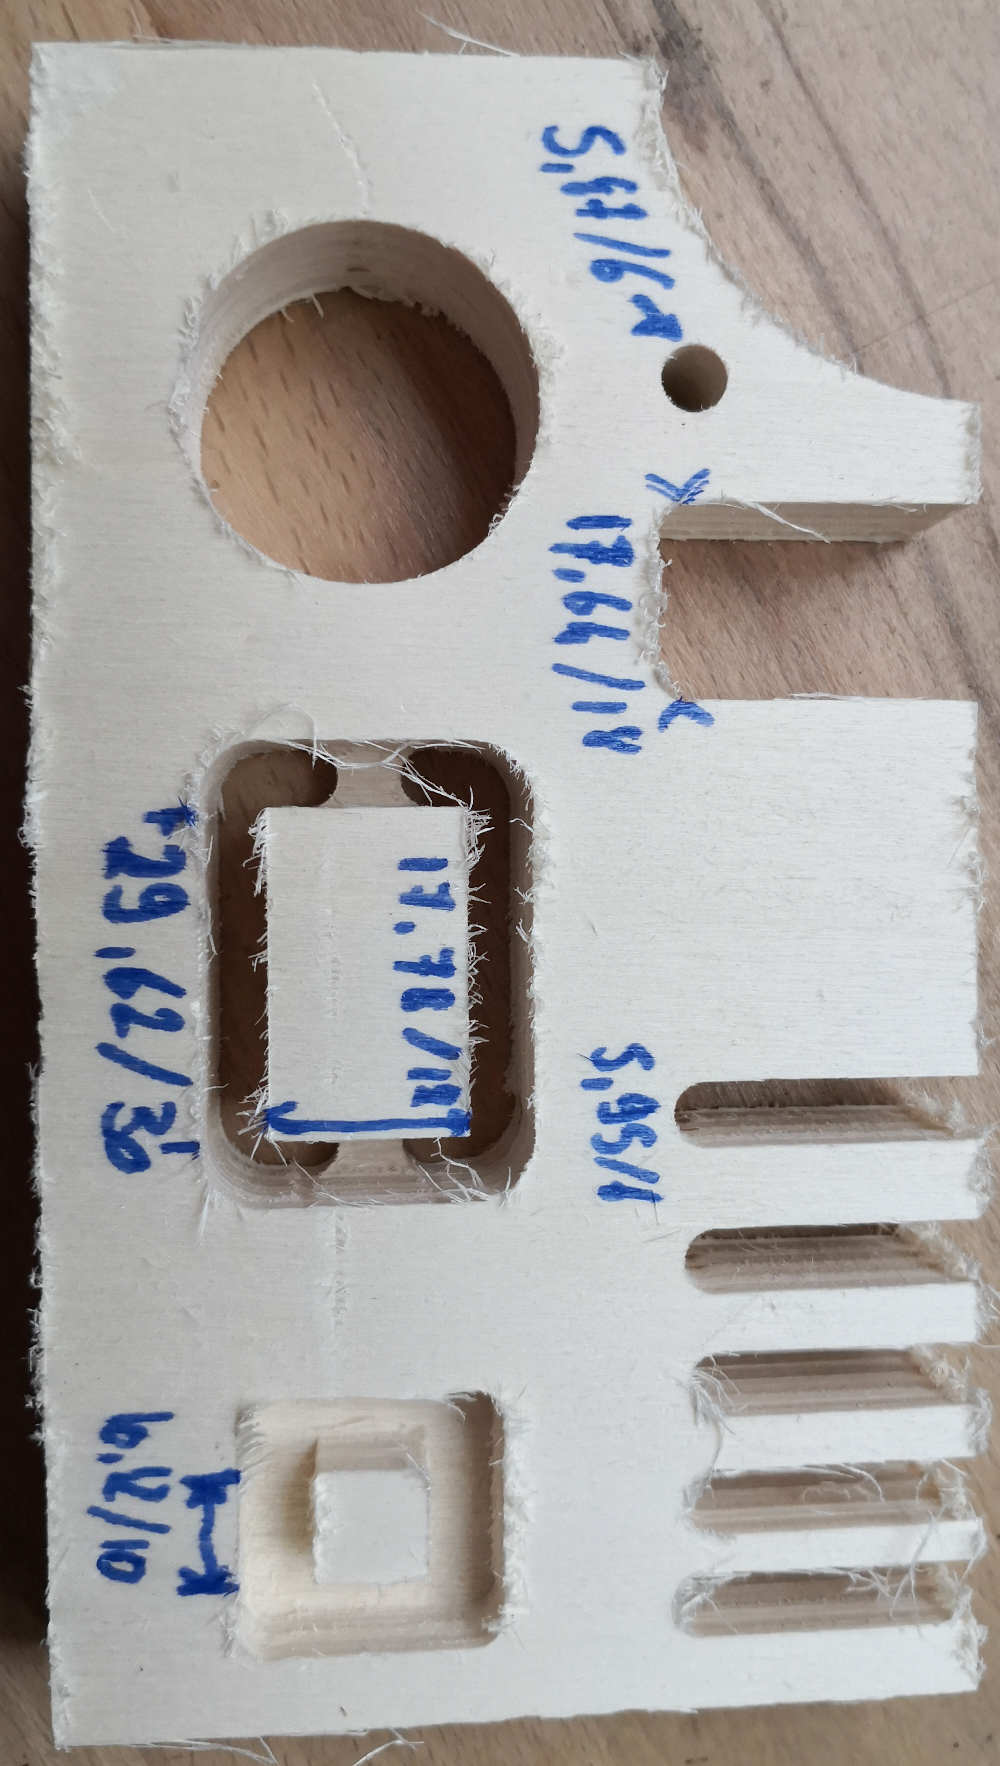
For the group assignement i design a small piece for see how the machine works & for check some mesurement of the result.
The shopbot machine work with a Soft nammed V-carve on this we set the size of the raw material, the place we want to work, the kind of cut, the tool we use & the speed & feed rates.


After prepare all the setting on the computer let's prepare the machine to work.
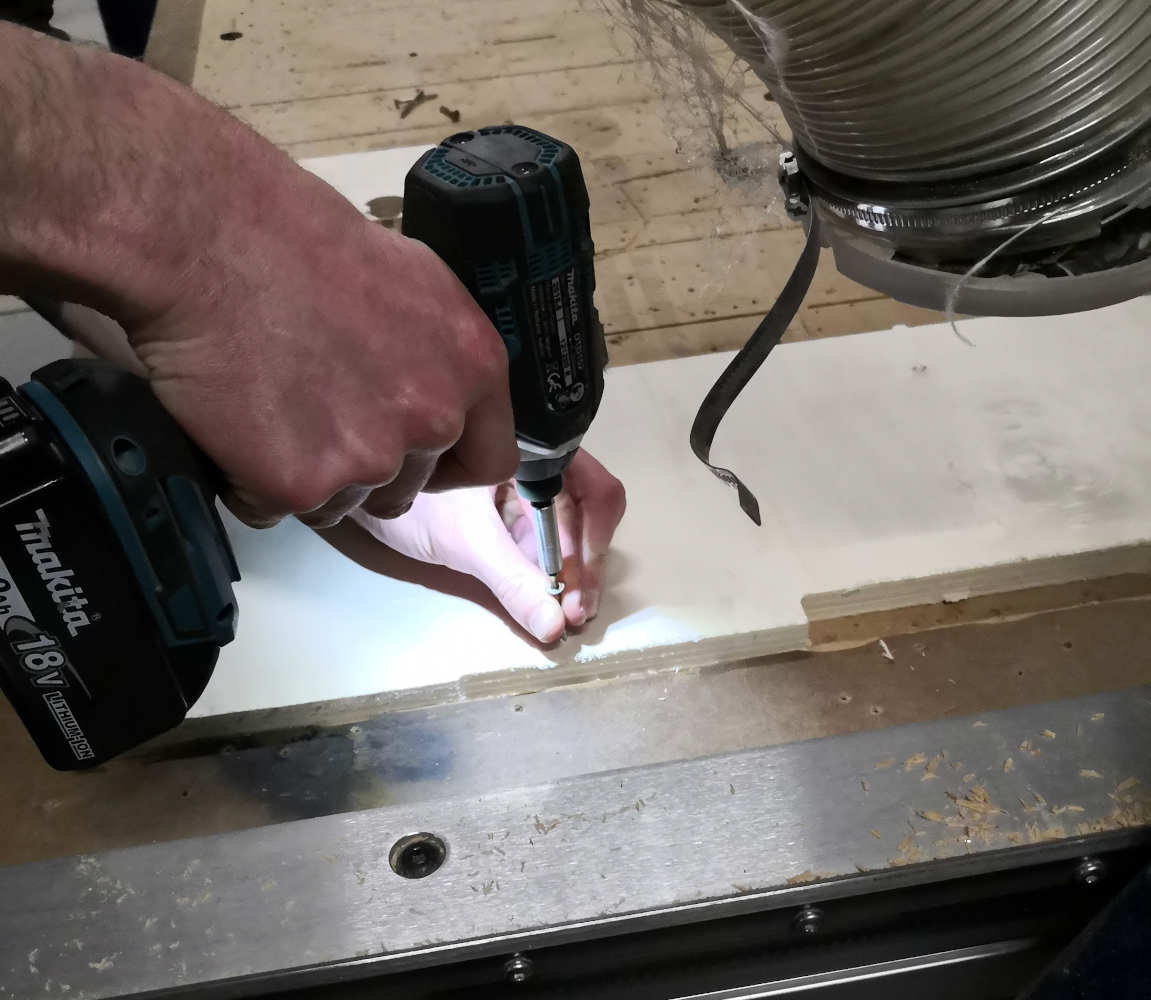
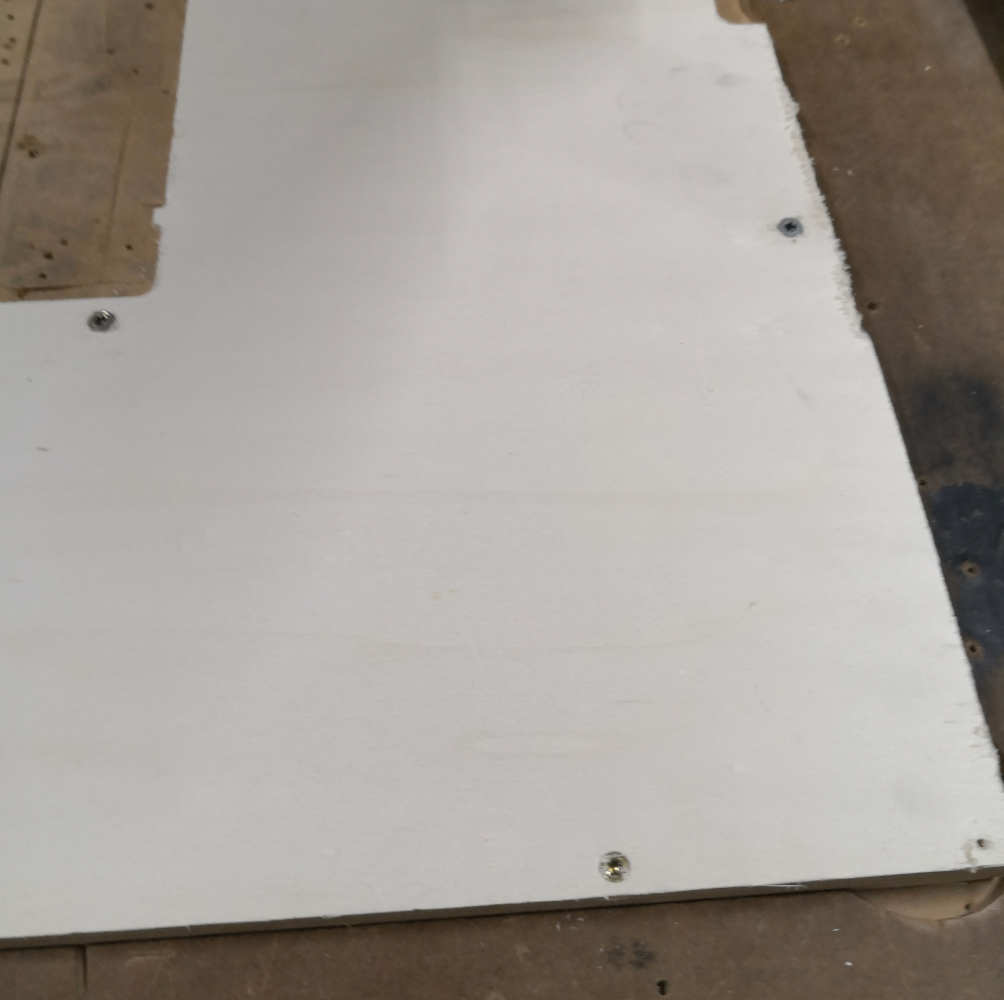
Start by securize the piece of wood with some screw at the edges. and set the drill start position by doing the zero of each axis on the shopbot 3 soft.
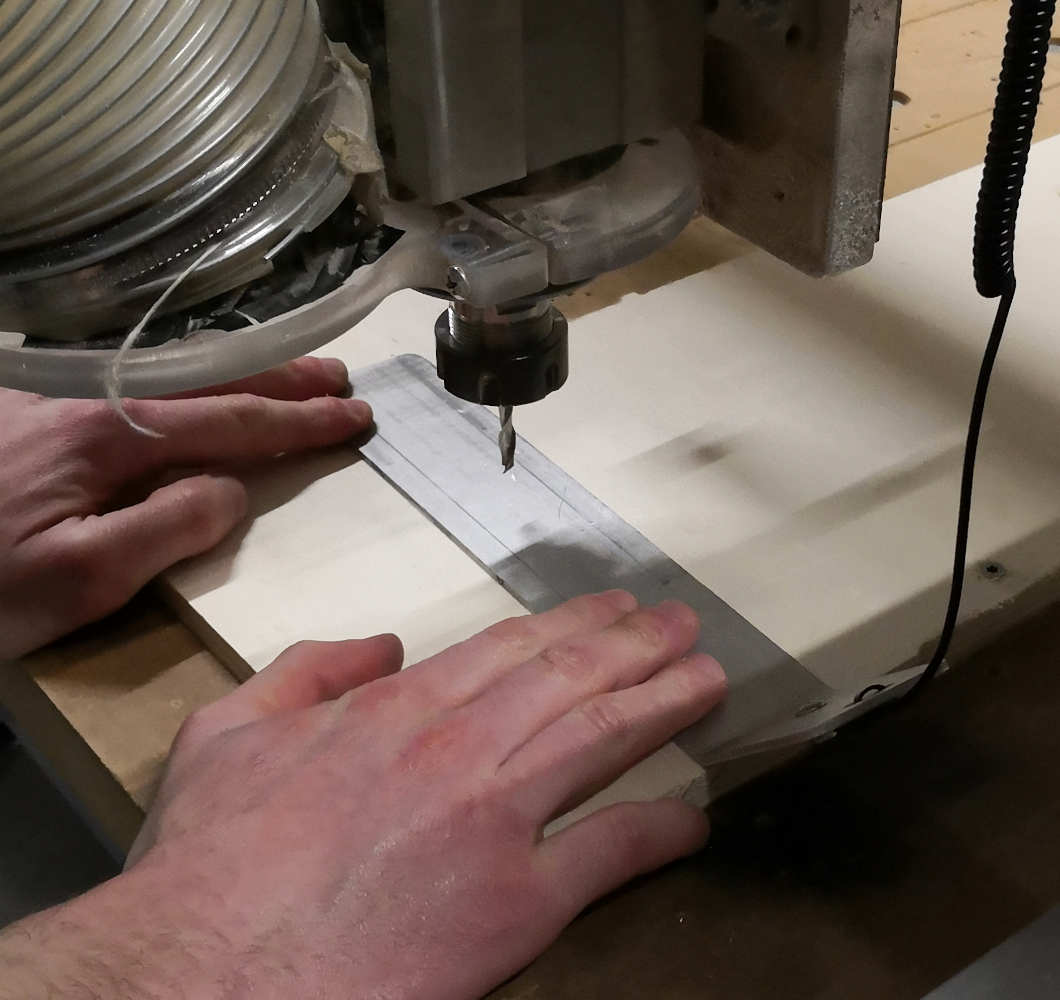
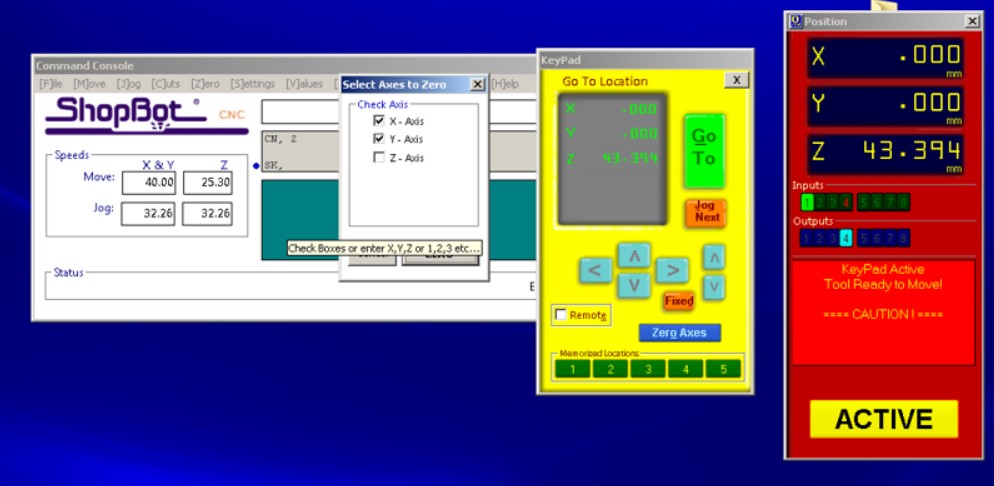
When everything is set up, let's Run the Machine.
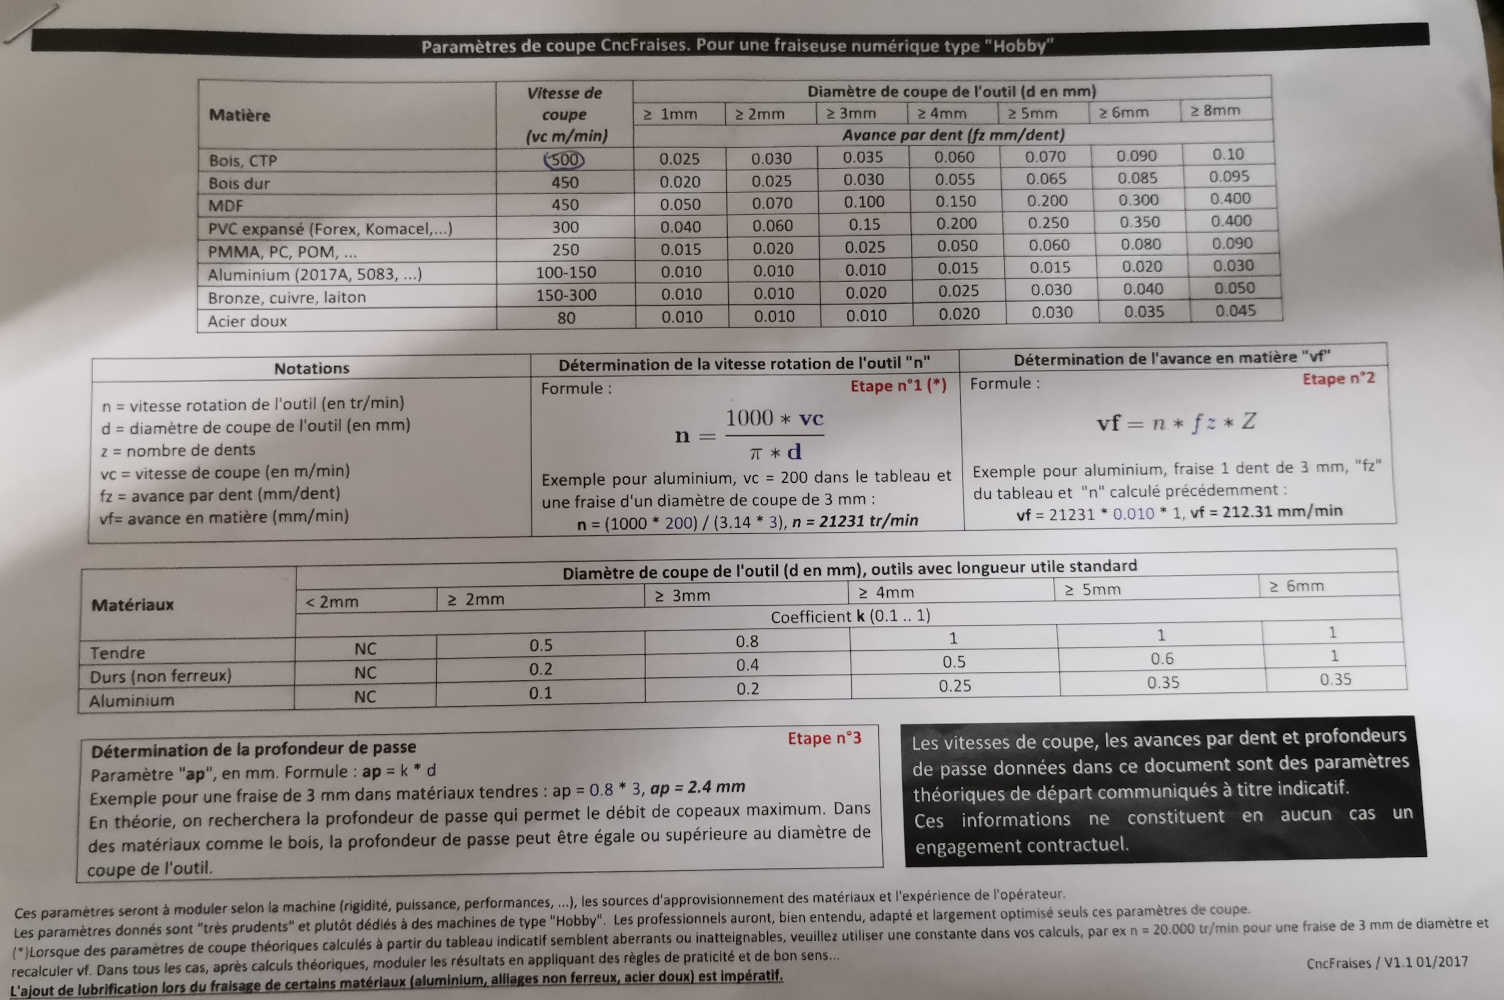
For set the speed & feed rates of the tool we use the tools-provider datasheet & made some calculations, we set different speed (18k/19k/20k rpm)to see what happened but we don't know the shop bot don't run over 18k rpm, result that don't change a lot.
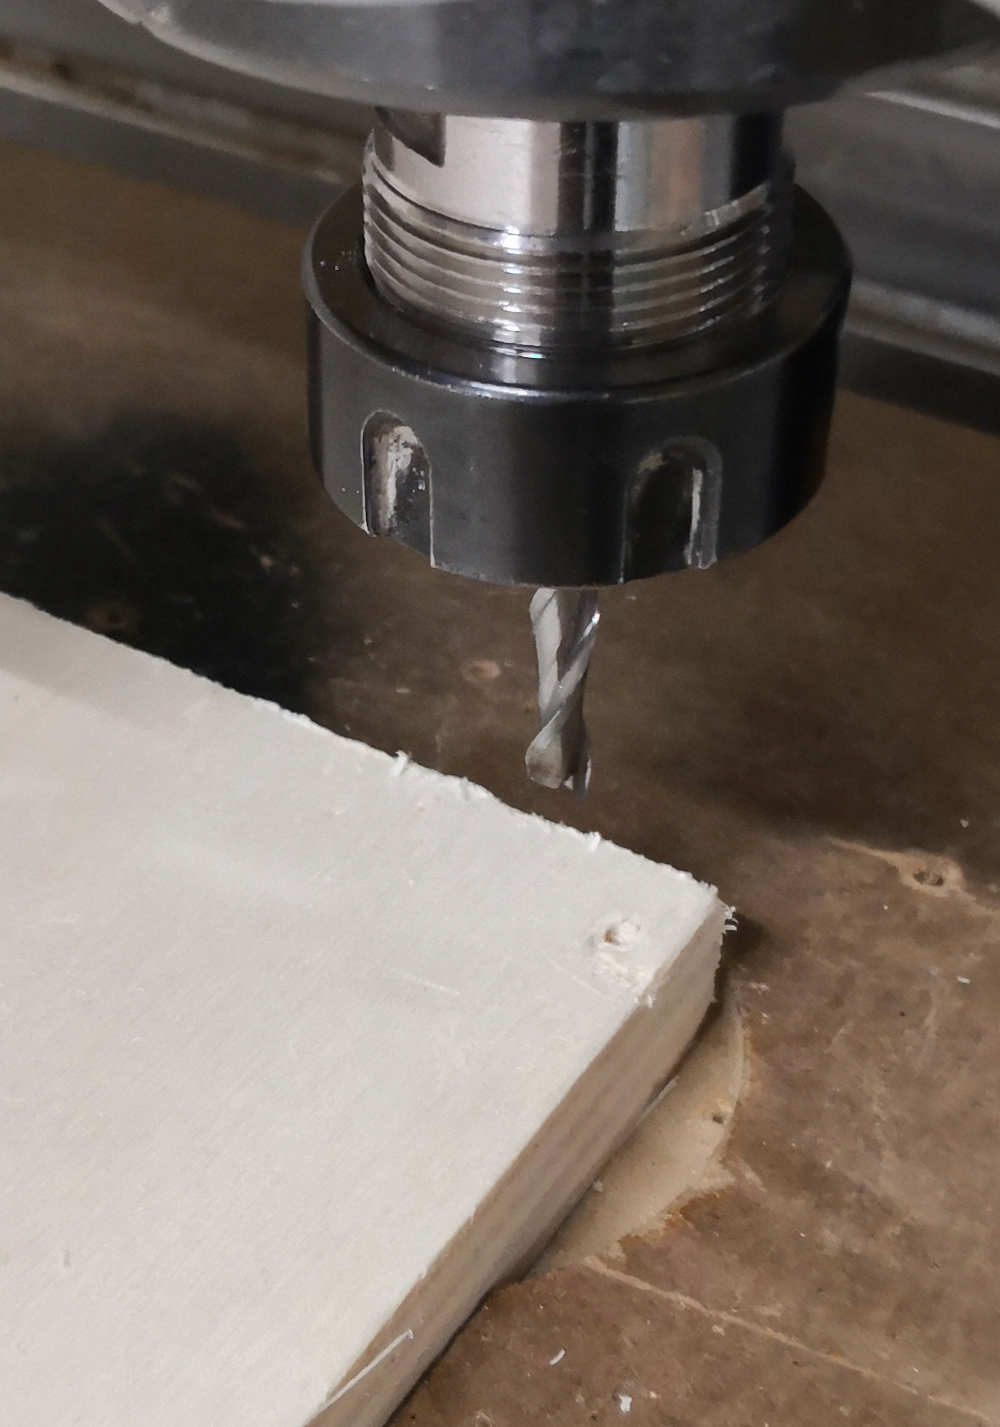
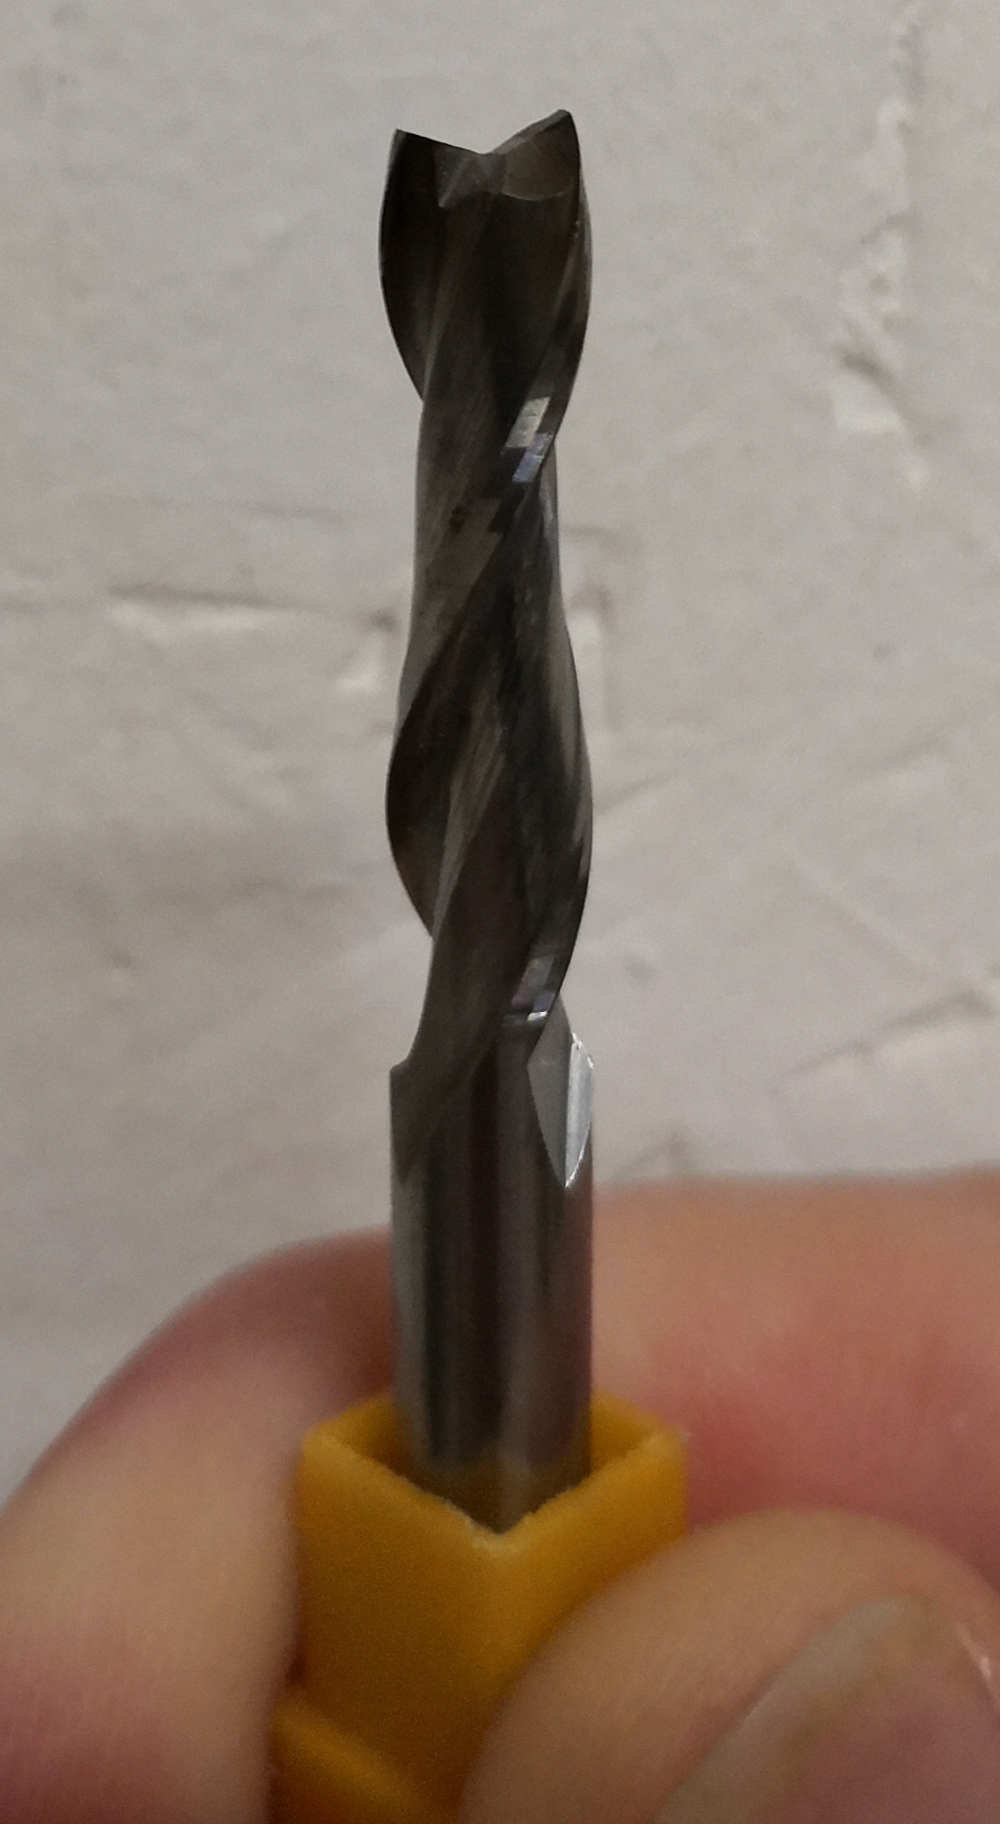
We use Two different drill for the test a 2flutes flat end mill & a Diamond sharp drill.(We find it one the CNC magic drawer)
the finishe test piece give us a good idea of how the machine run, the runout du to the vibrations & the best setting for a nice cut.


Indidual assignement:
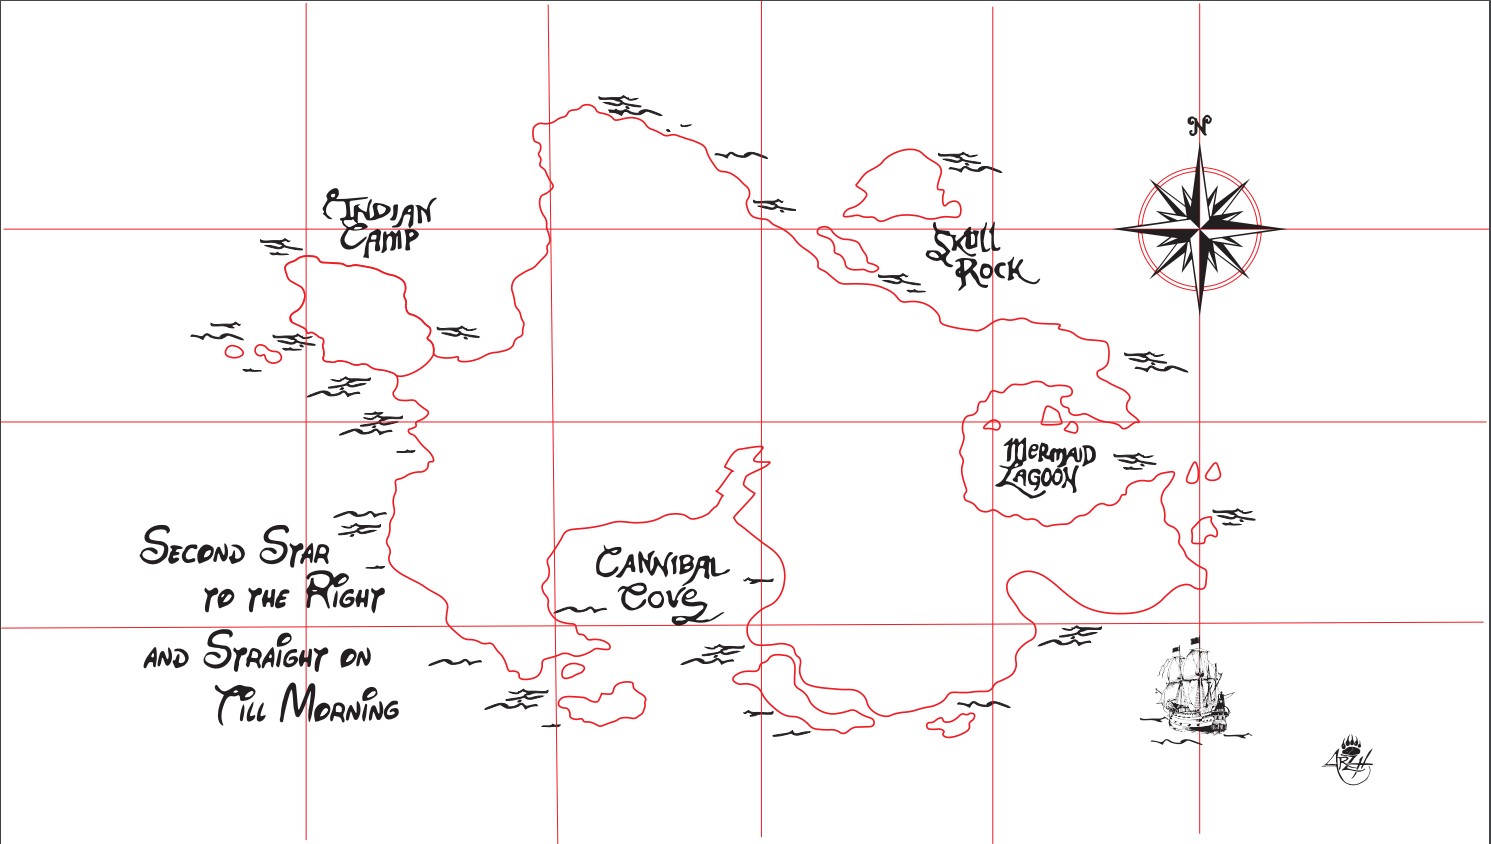
The Personal assignement this week is to make "Something BIG". For this i chose to make a cofee table themed on "Peter-Pan" stories.
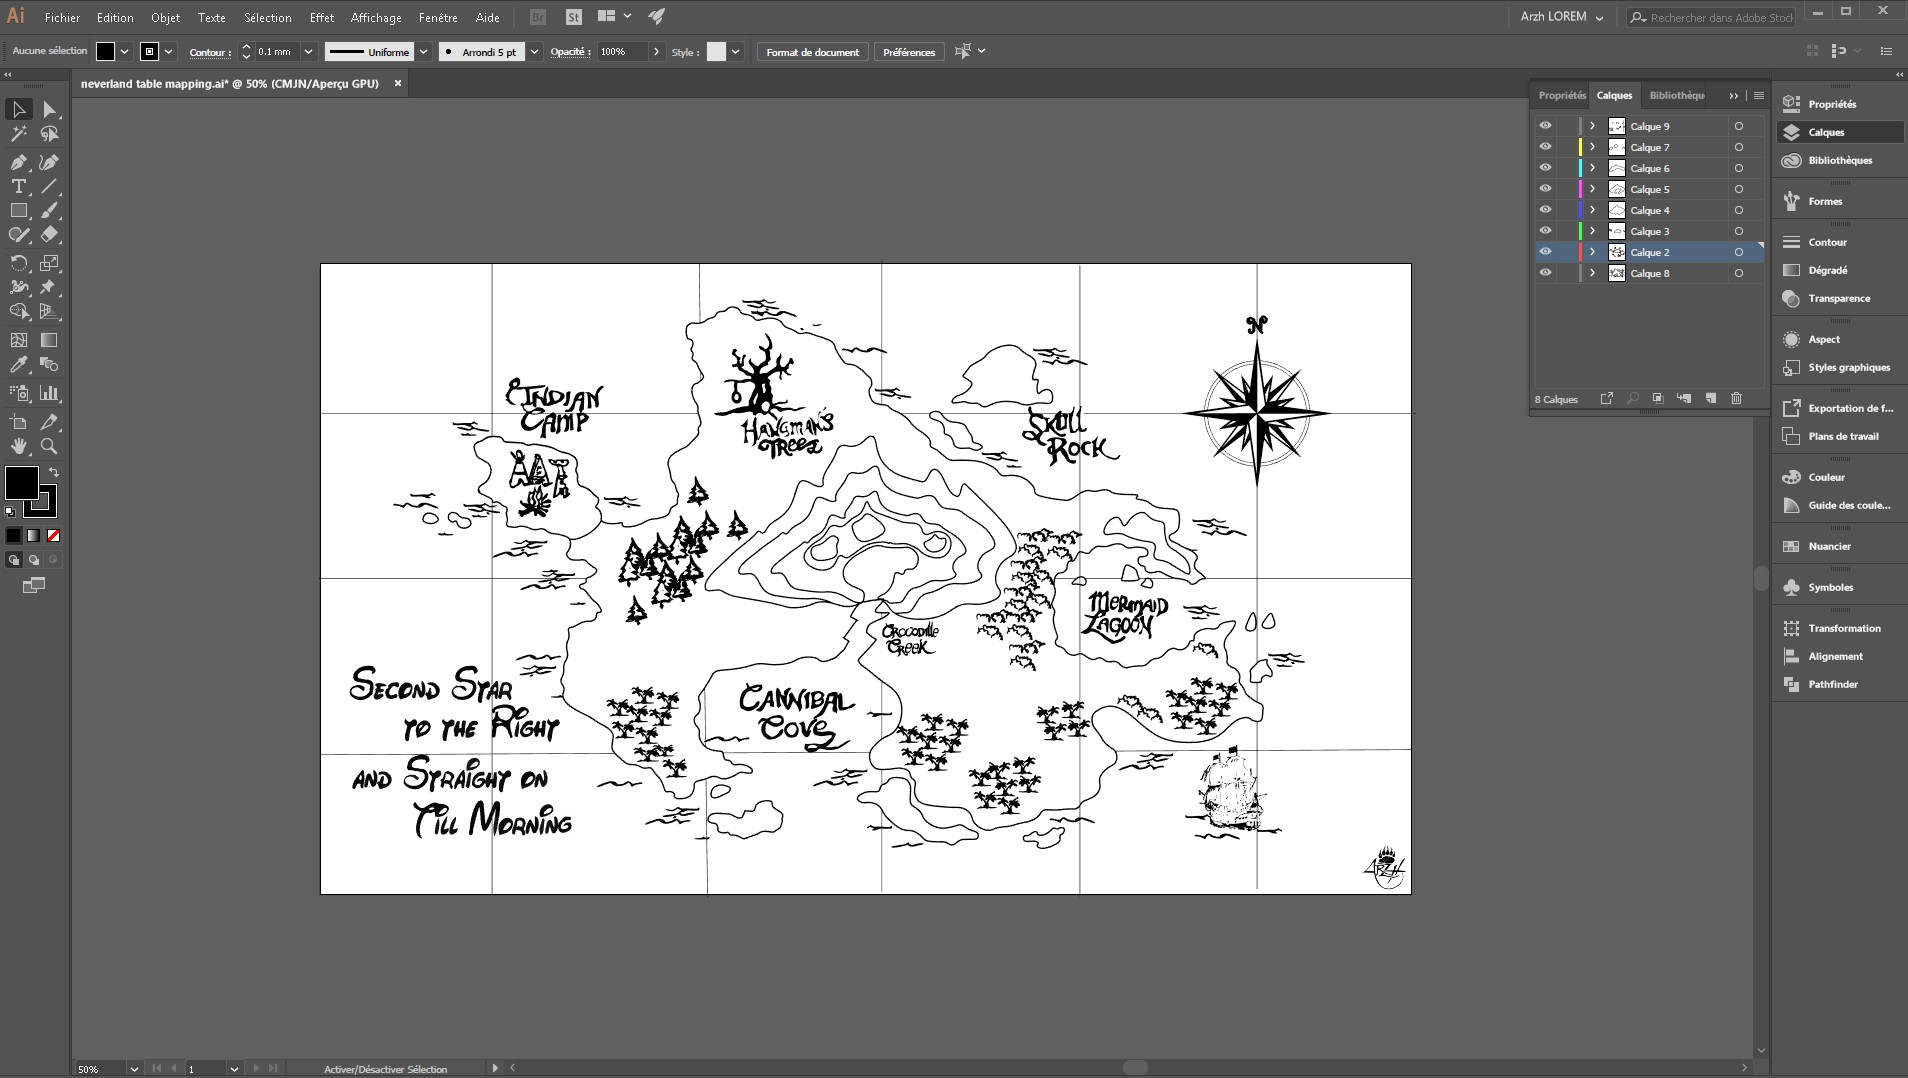
I start with a Neverland map create by "Mercedes JK" find on pinterest.
I modelize & design my table on Fusion & start to do my mapping on it...... Ok Forgot this idea, Working with a lot of spleen on fusion try to kill it.
I going on Illustrator for doing all the mapping of my multi-layers toppographic map.
For this i draw all the wanted line following the map pictures on a others layers using spline tool. Redrawing all the lines is quite long but giving a better result as a simple vectorization.
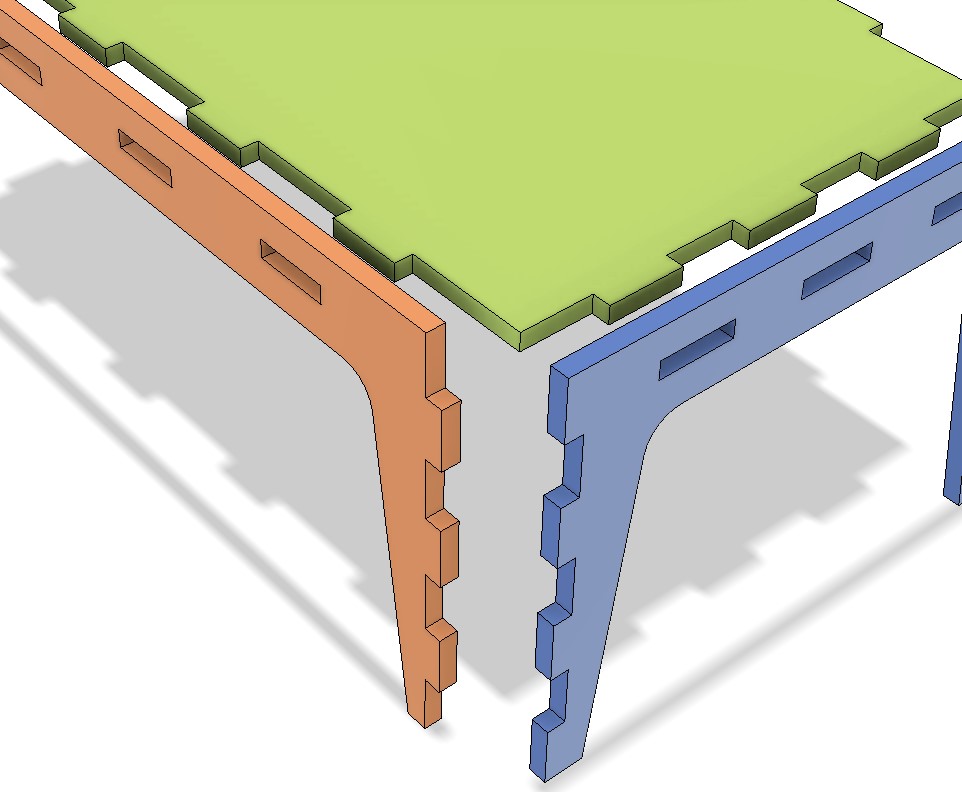
After i import each layer design on Fusion for have good idea of the final Render.


For join the different pieces of the table i design a simple pressfit joint systeme for the base.
The island layers and the top going to be fixed to the base with the resin.
Design done. Go prepare the machining, for this i export the table design on DXF and set the CNC.
Setting Vcarve for my table job:
-
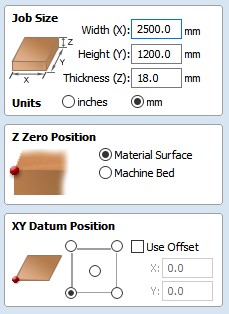
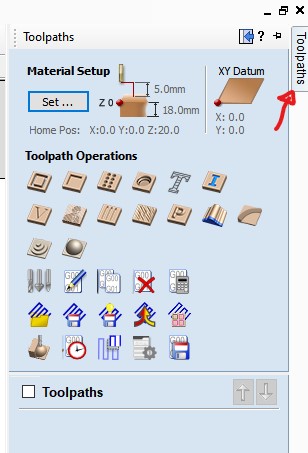
When openning a new file on Vcarve the first thing to do is to setup the stock we gonna use (here a full board (1200mm x 2500mm) of 18mm thick plywood)
-
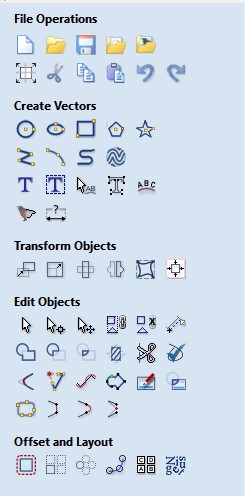
Next steps uses differents tools for editions on the left of the Vcarve windows.
-
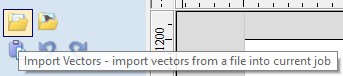
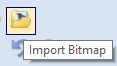
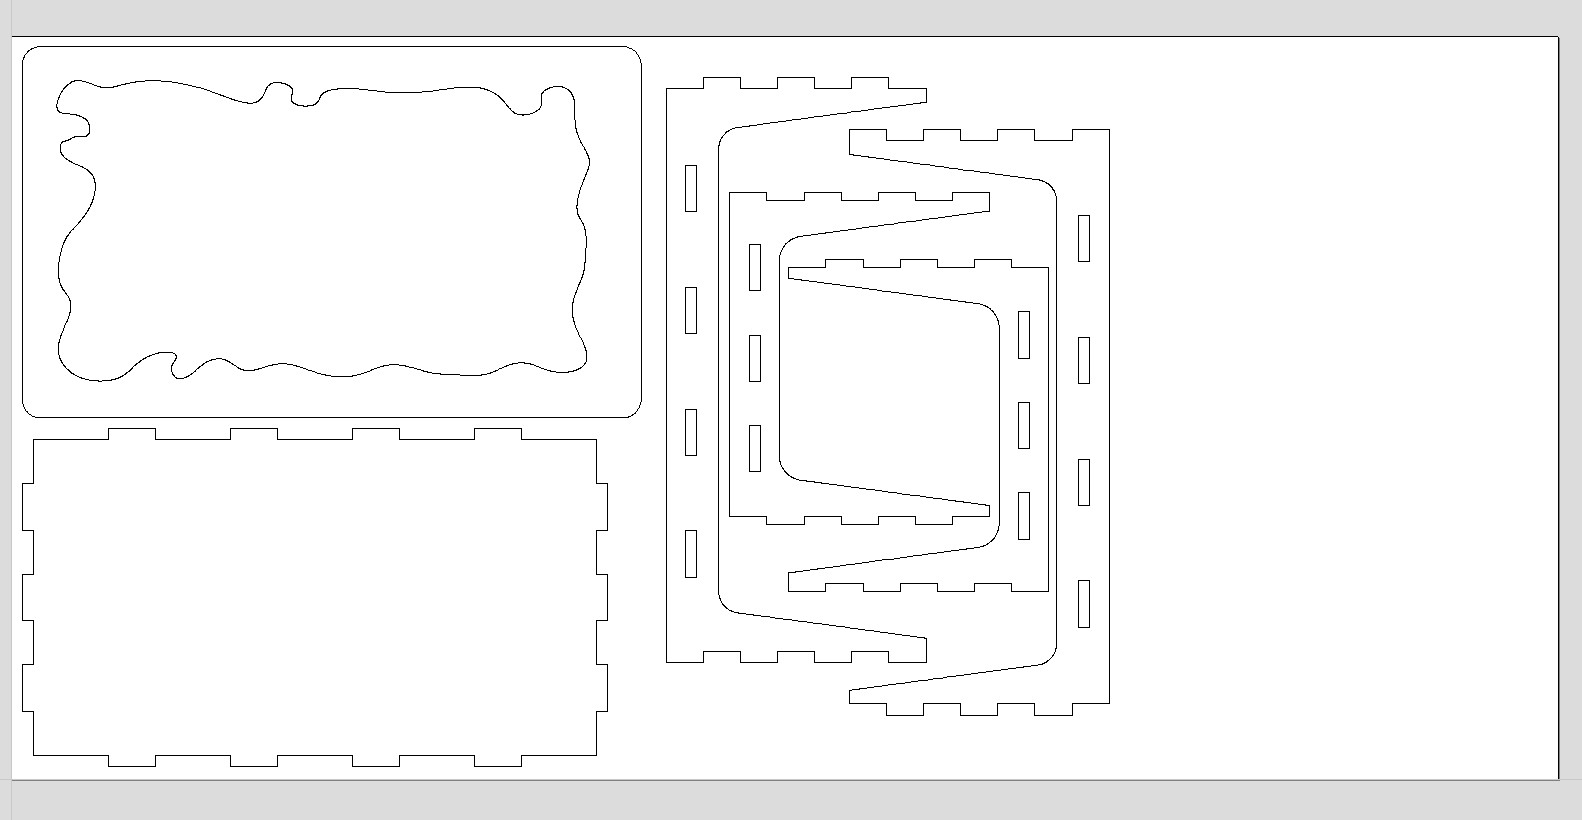
Import the files you want. For this Two solutions: import a Vector file or a Bitmap one. For my project i work with vector one (DXF)
-
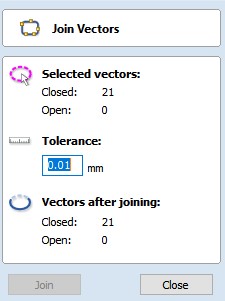
When import is finish i check if all the vector is closed. Selecte all by using
CTRL + Aand use the "Join Tool"
-
Vcarve place my design out of the stock, i need to move it.
But before i prefer to group the differents vector avoiding to have error when moving it.
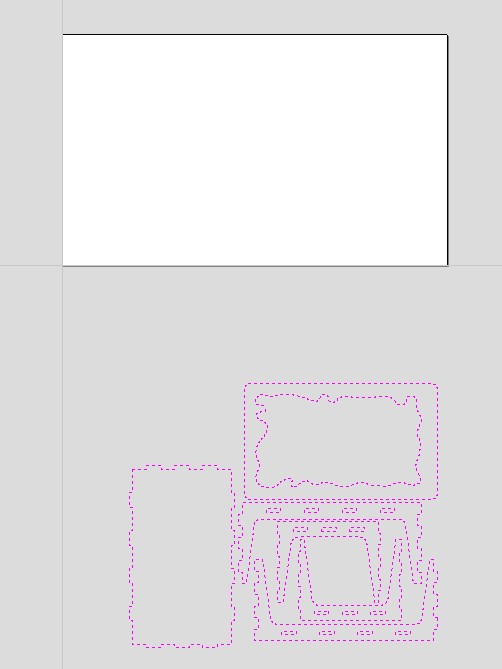
for this i just selected the different vector using my mouse and keeping puchCTRL, when all the vector i want on a group is selected use the "Group Tool".
-
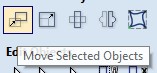
Now i can move it. For this i start by placing the different object by selecting the "Mouse Move Tool" & "click & drag" the piece to have a relative economie of material.
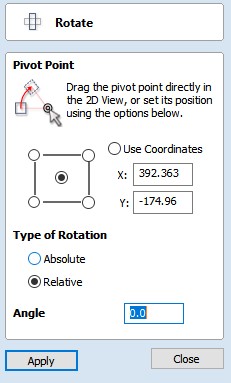
If (as me) you need to rotate a piece you coul with the same tool select the "blue point" on the corner of the selected piece and mouse rotate it.
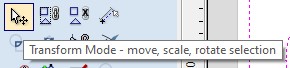
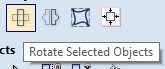
 Or use the "Rotation Tool" for a more accurate result.
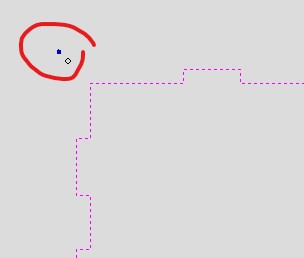
-
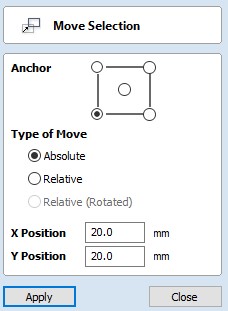
After this placement, select all object and use the "Move tool" to do a placement with accurate coordinate on your stock, giving a safe place for the futur fixing screw.
-
Now we are going to programe the different toolpath by using the differents tools on the right of the Vcarve windows.
-
First starting with the pocket path. I gonna use it for the press-fit holes on the table feets so i selected all of it & click on the tool.

-
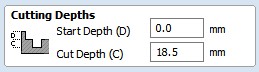
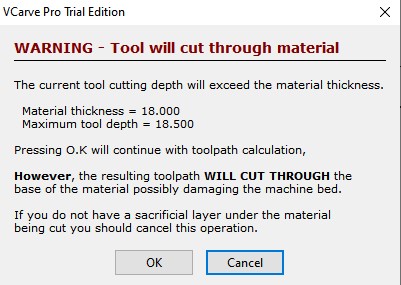
The Cutting depht: here i set the start depth to 0 (starting the pocket at the stock height) and the cut depth to 18.5 (to go throught my material)
-
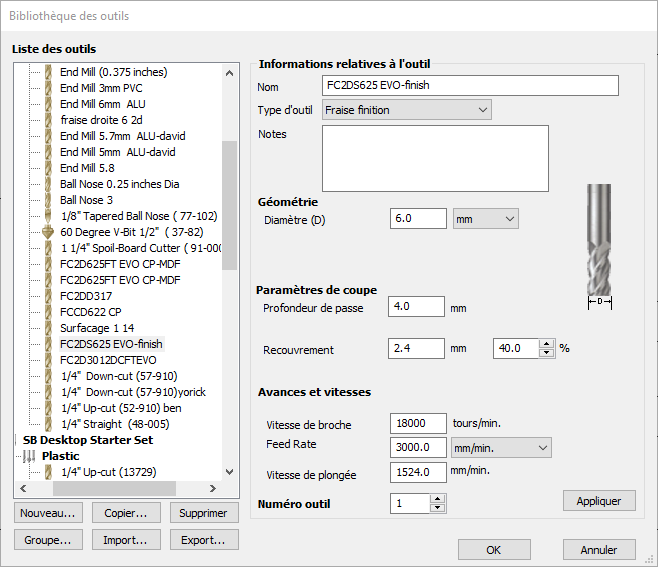
Tool & Passes: here it's the place to selct your tool & decide the strategie you gonna use to do the job.
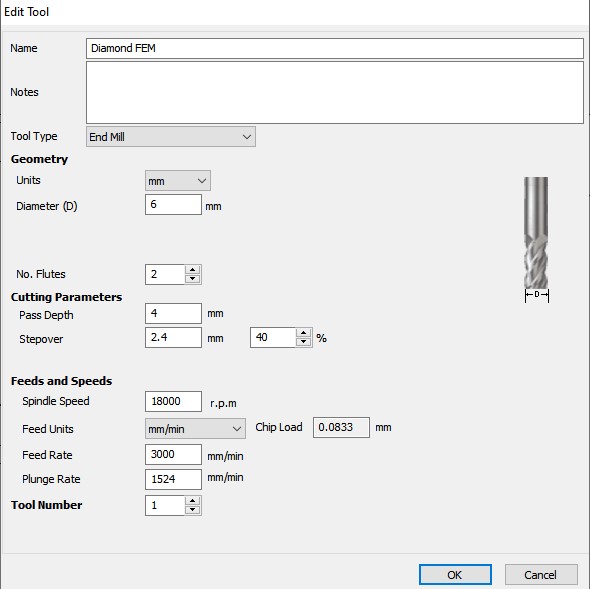
I start by selected & editing the tool:
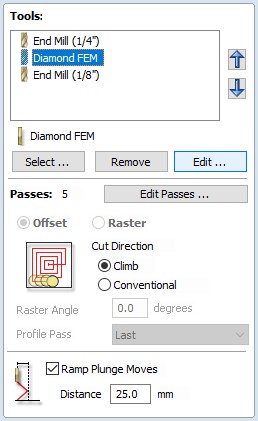
For all the job i gonna use a 6mm Diamond Edge Endmill at 18000 R.P.M with a Feed rate of 3000 mm/min, a Plunge rate of 1524 mm/min & a Pass depth of 4mm.
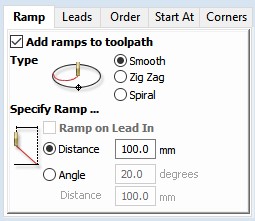
I choose to use a Climb strategie to do the work (better result on test i do before). I also add a Ramp move for a smooth move.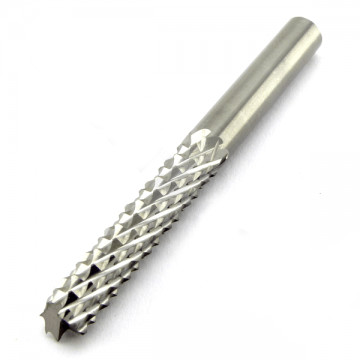
-
Calculate to finialise the setting of the toolpath.
A POP-UP appear to prevent me of the cut through, but no worry we have a sacrificial layer to save the machine.

-
The Cutting depht: here i set the start depth to 0 (starting the pocket at the stock height) and the cut depth to 18.5 (to go throught my material)
-
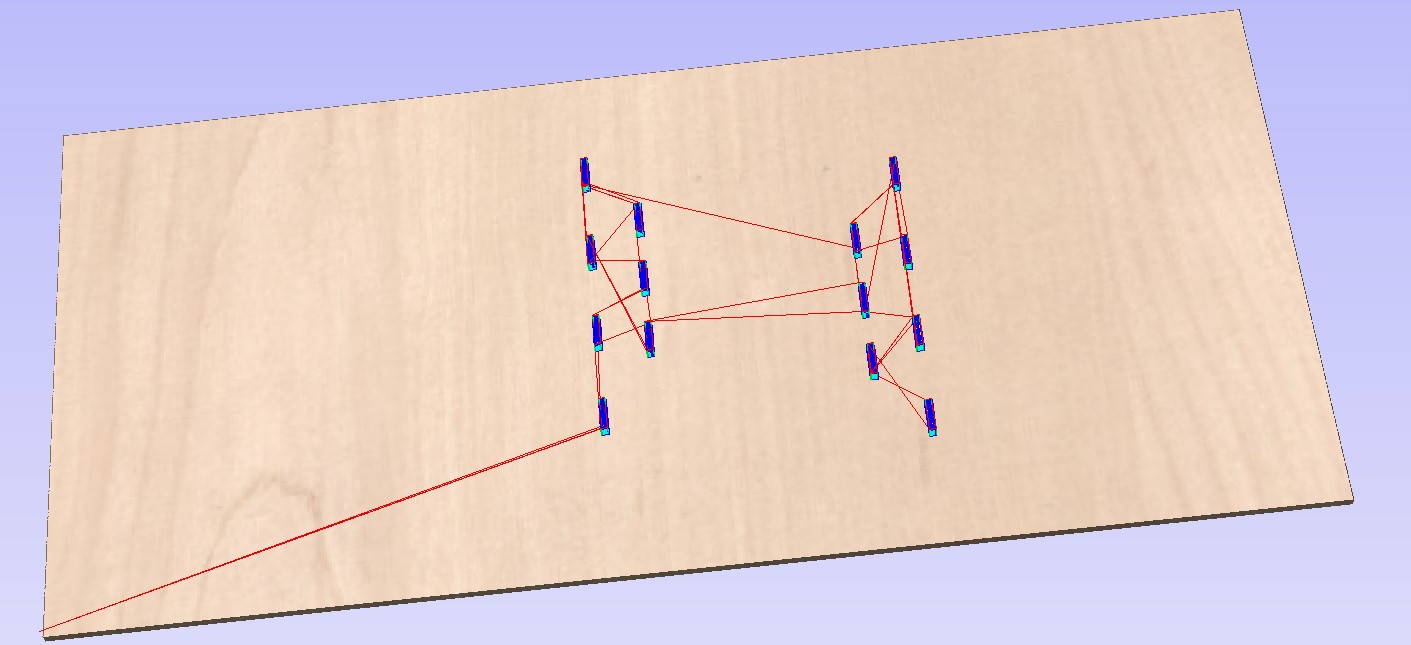
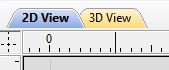
When Vcarve finish to calculate the toolpath, he automatically go on 3D view to show a preview of the tool path.
you could return to the 2D view with the tabs on the top of the Vcarve workspace.
-
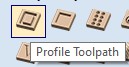
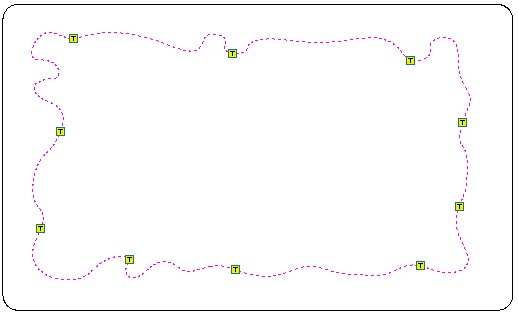
Now i'm gonna prepare the path for cut the center of my tabletop. To do this i'm gonna use the "Profil toolpath"
The workflow is quite the same as the pocket workflow, the differences is: We have to select which side of the vector the tool follow & add tabs to keep the cuted piece on place.
 Machine Vector: The piece we want to keep is the outside of this vector, also i select to cut inside the vector.
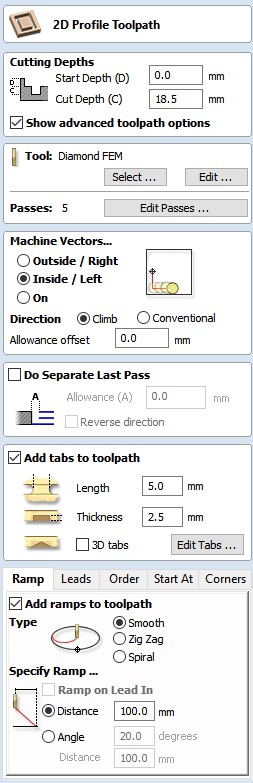 Tabs:
Tabs: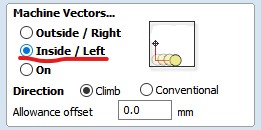
-
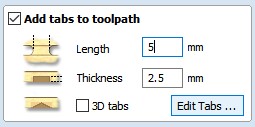
Select Add tabs to toolpath & set the length and the thickness
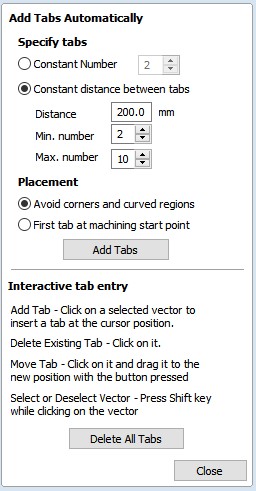
- Click on Edits Tabs
-
Now you could set the tabs automatically or manually. I choose to do this by myself to improve the placements, just by clicking on the vector where you want to add a tabs.
When finished just close the pop-up windows.
-
Select Add tabs to toolpath & set the length and the thickness
-
For ending the milling programmation, i just select the resting vectors for the last toolpath.
Same workflows as the previous one, just change the Machine vector for an outside machining.And placing some Tabs.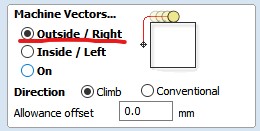
-
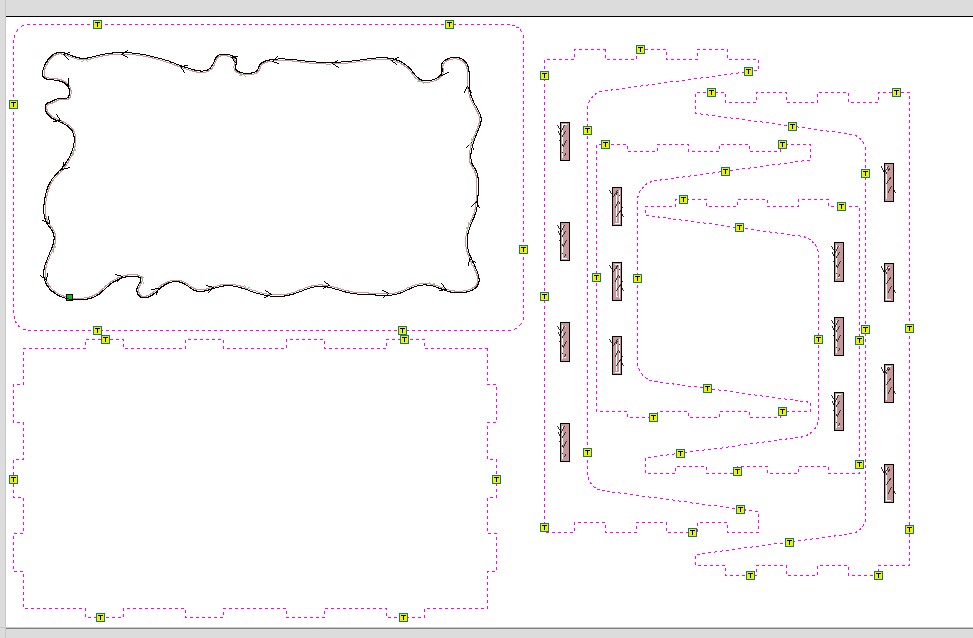
Now we could see the full toolpath.
And for check the work (More check you do, less error you have...), i use the Preview tool to simulate all the toolpaths.
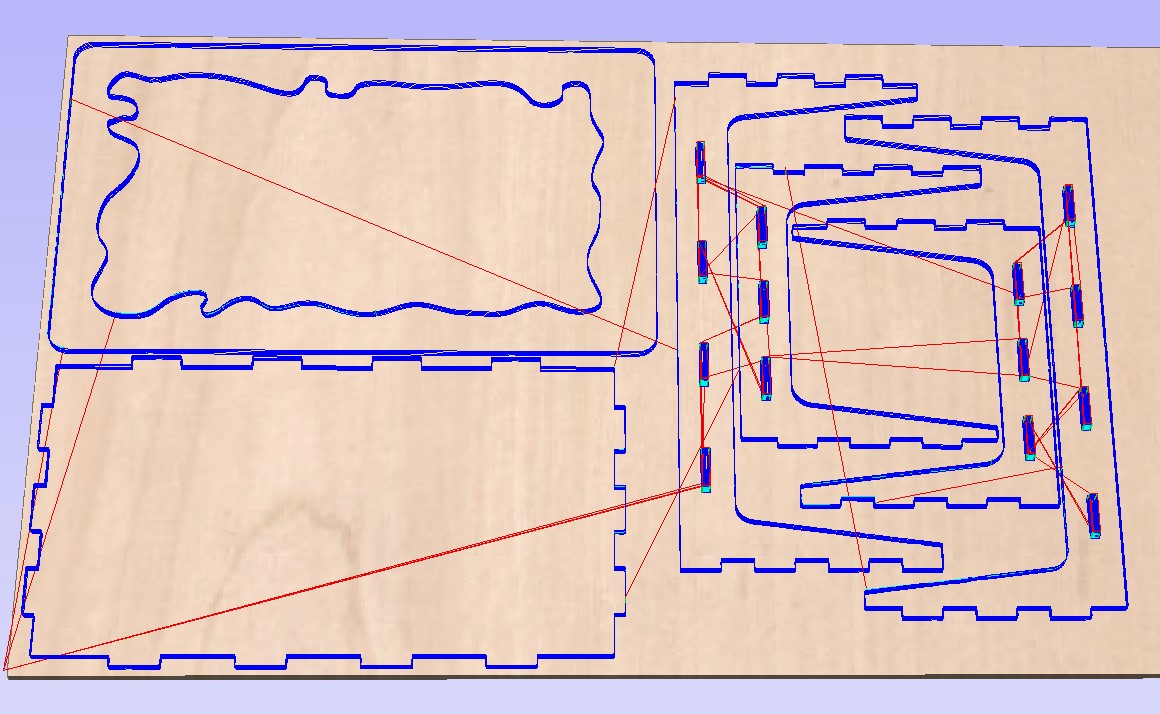 A video of the Simulation result:
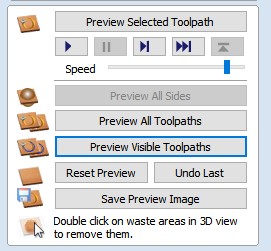
Let's go
Programing the machine = OK
Following the workflow show on the Group assignement, i place my board and fixt it, setting all the axis zero for preparing the work & start it.

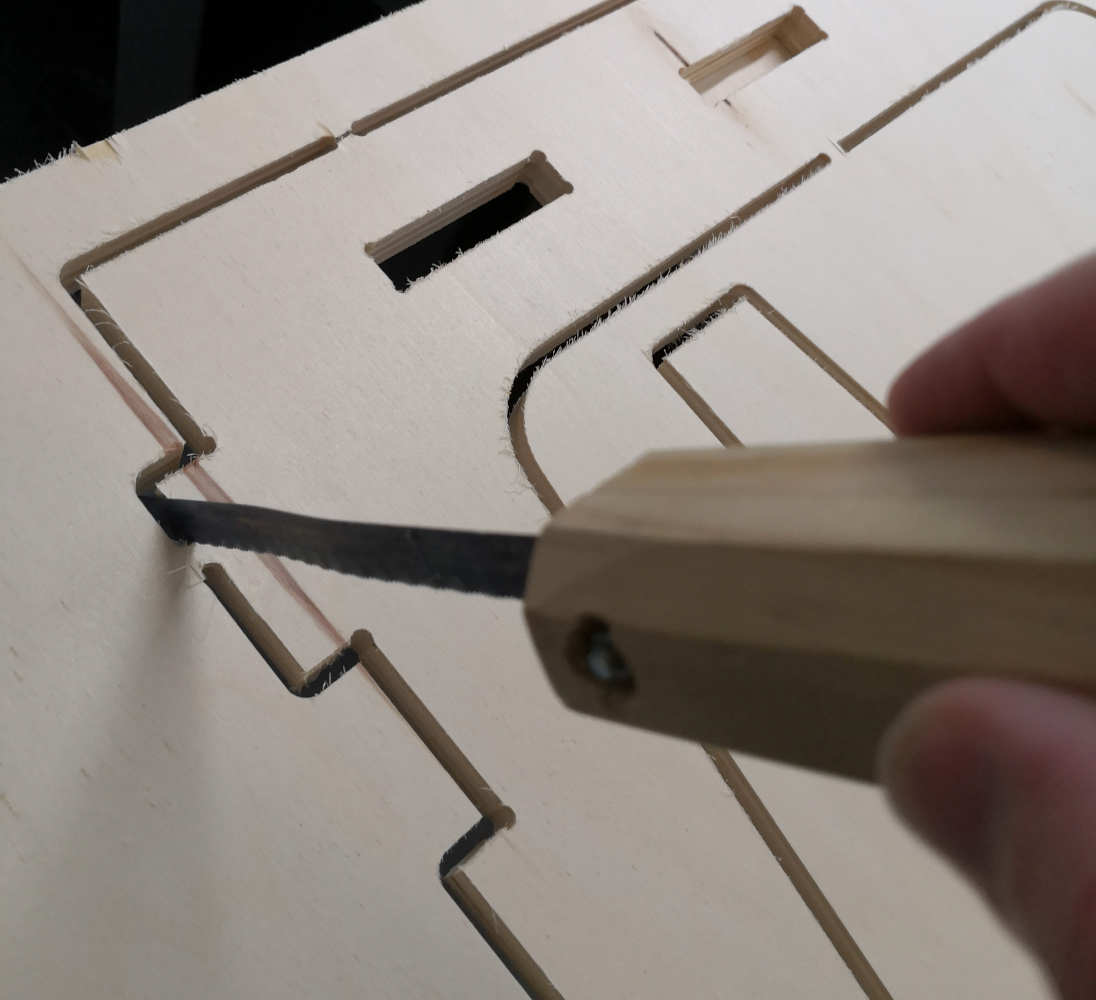
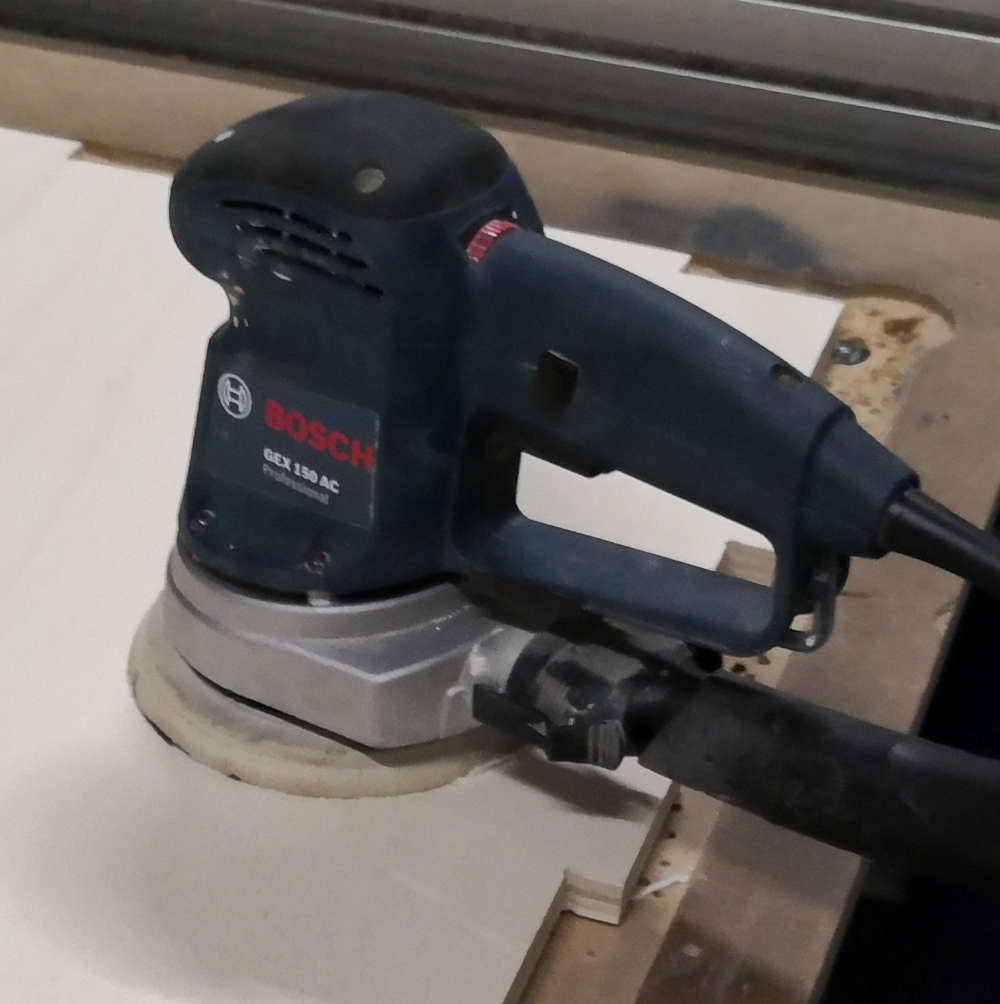
When the cut is finished, just have to do some post processing by cutting the small tabs & sanding all the pieces.
Map
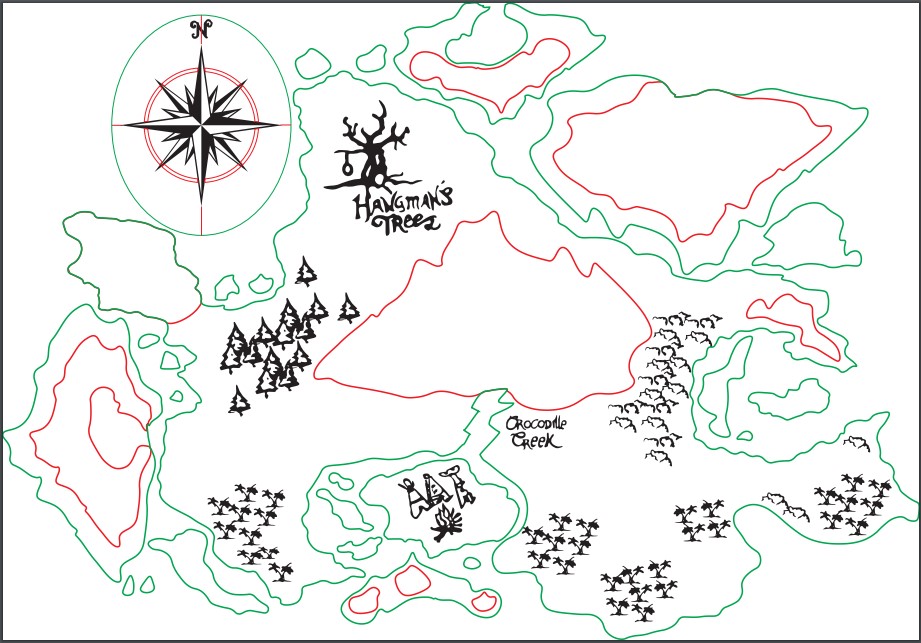
For the Mapping layers i chose to do it with the laser cutter to have this small burn looking on the tranch.
On the following pictures :
- Black traces = Normal engraving.
- Red traces = Linear engraving (setup like a cut but with low power for just engraving more quicker as normal engraving)
- Green traces = Cut
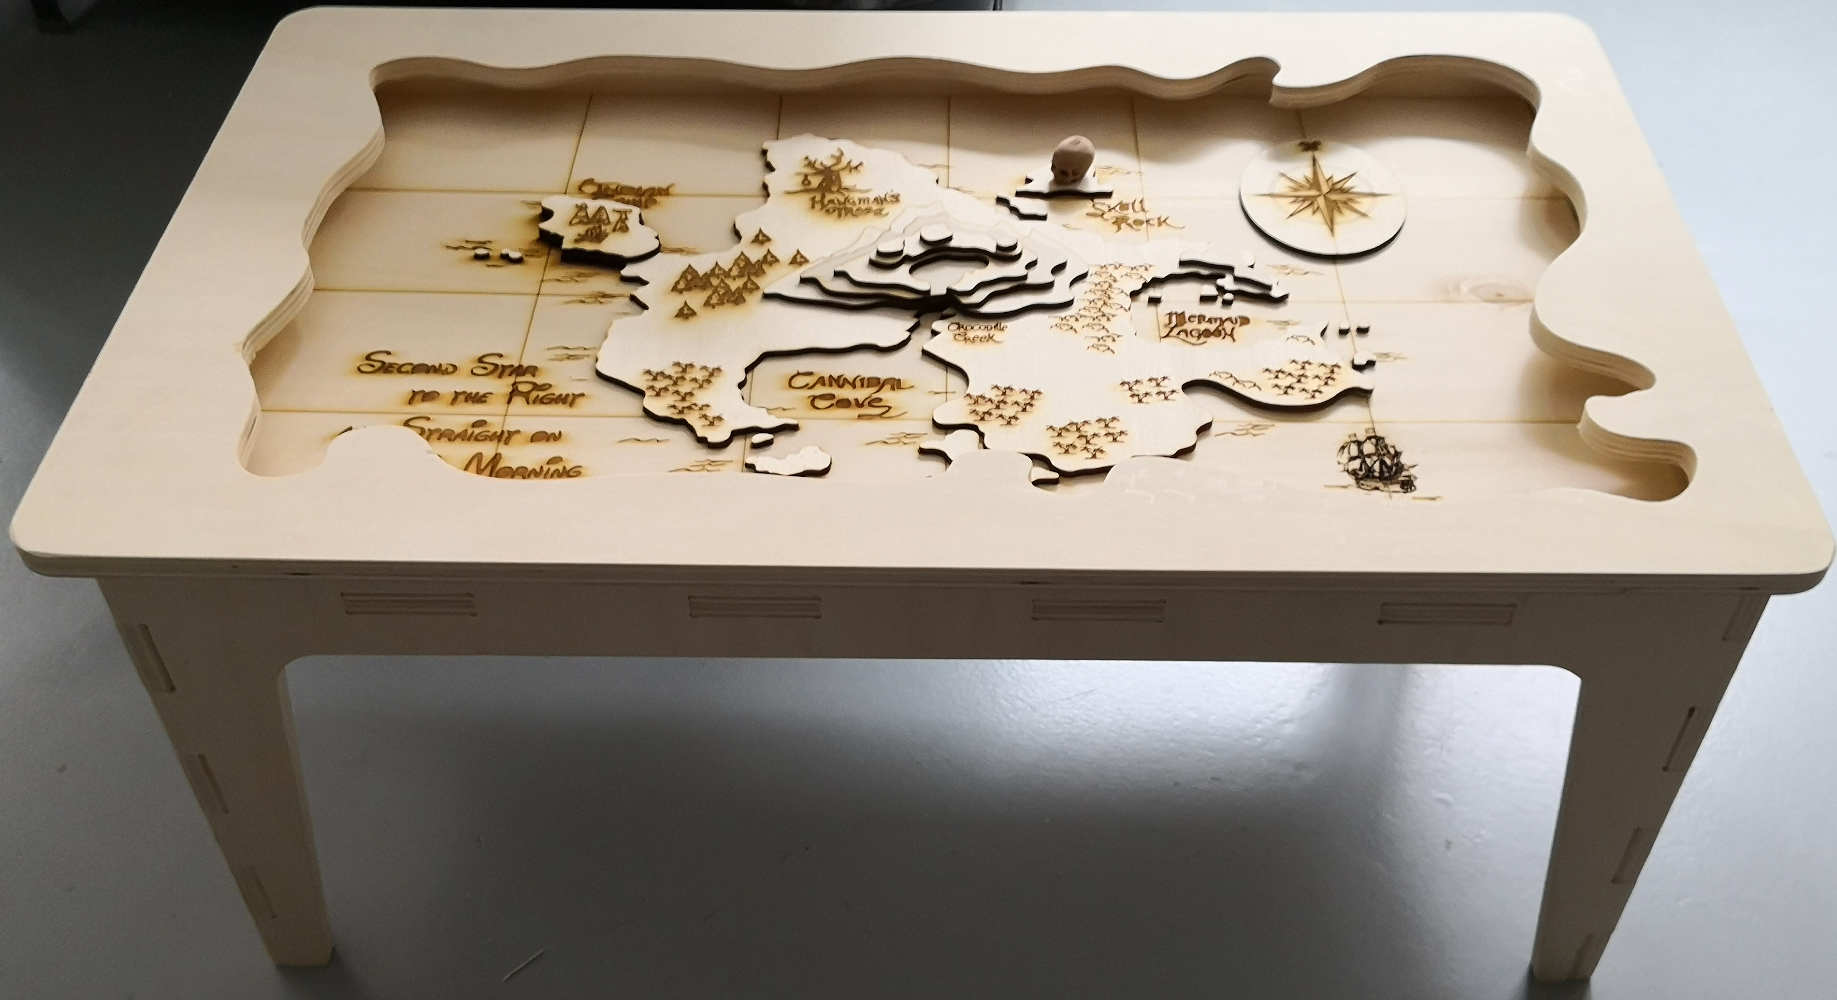
After that i do the final assembly (i'm alone when doing this, everybody preparing for the quarantine that comming.... So no pictures of the assembly step)
The fiting of the join was not really good. I calculate it with the result of the test we realize for the group assignement but for a good fitting i need to use a file to round the corner & a plastic hammer to fit it.
Quite brutal but the full assembly never move again and for the use i want it's perfect.
Result:
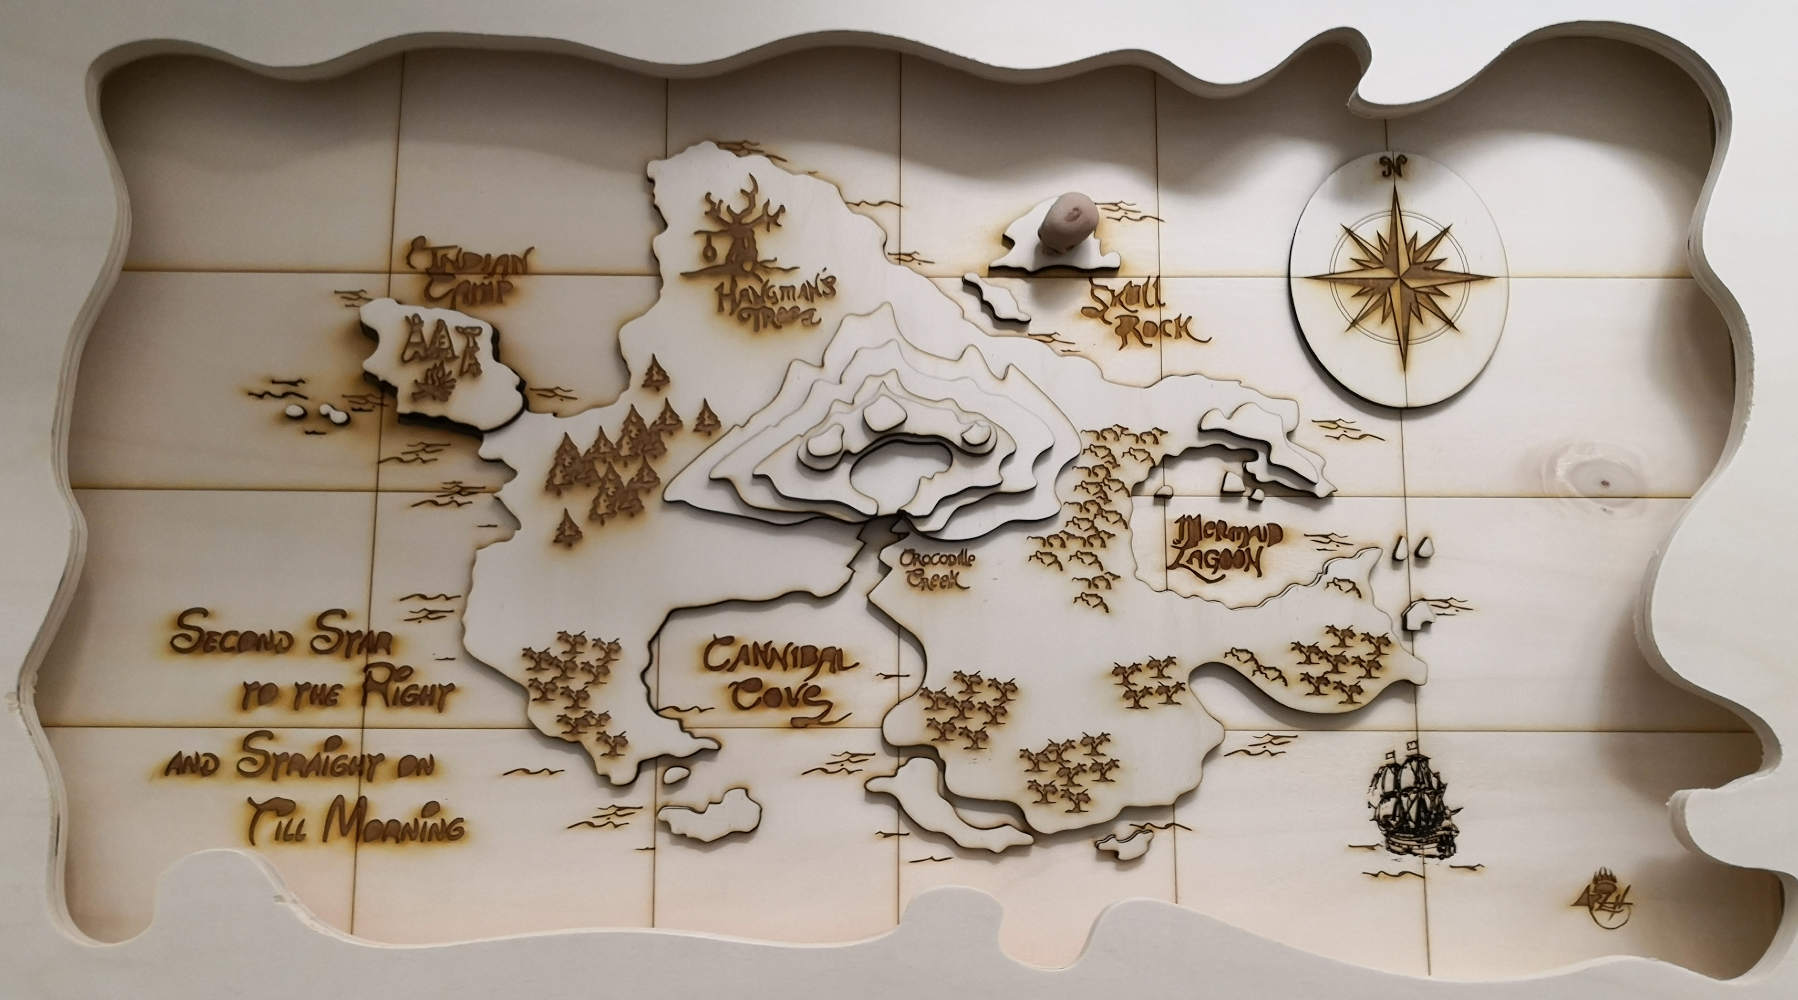
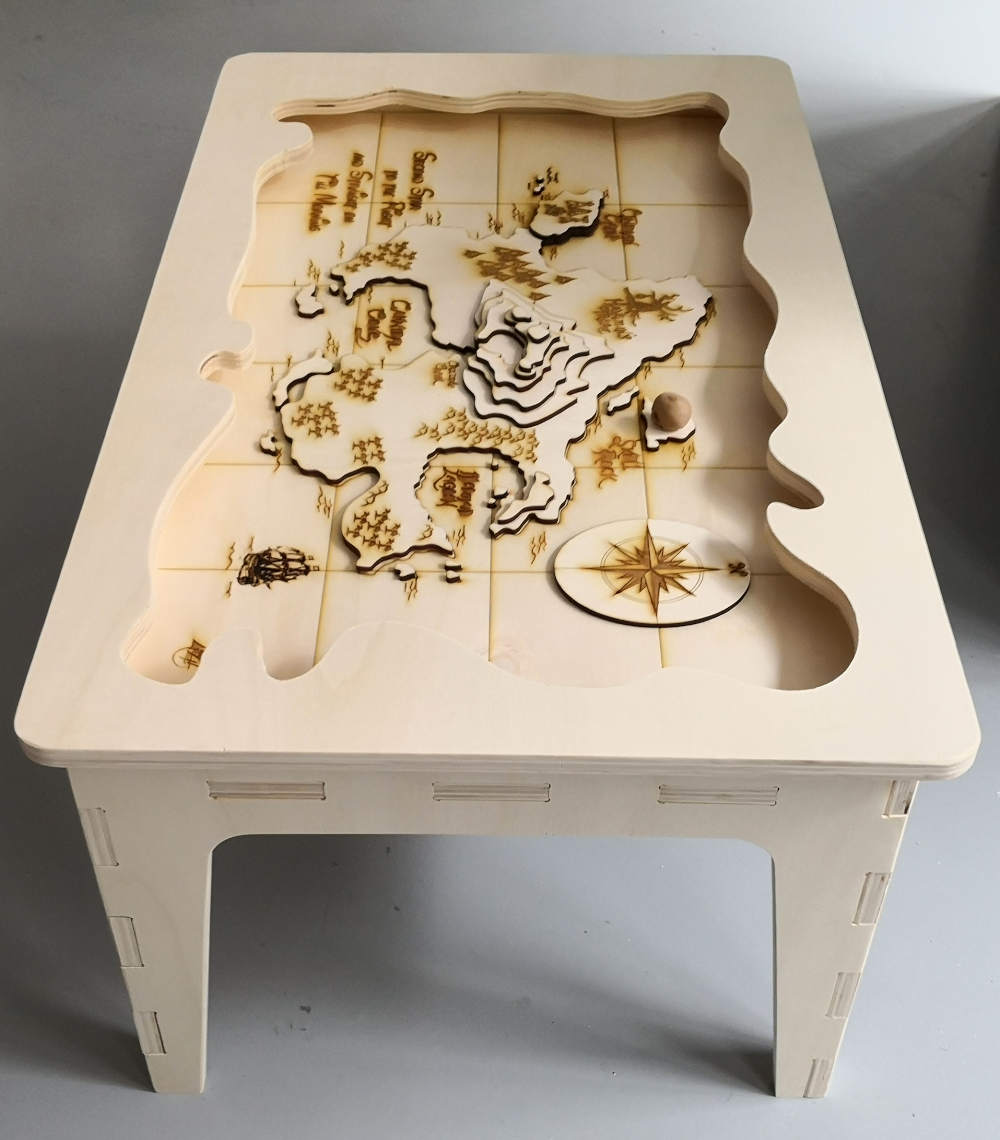
I also had a "Wood-filament" 3D pritned skull for represent the Skull rock on the map.(Design By bothackerFind on thingiverse)
Nevrland Cofee Table Files here
